
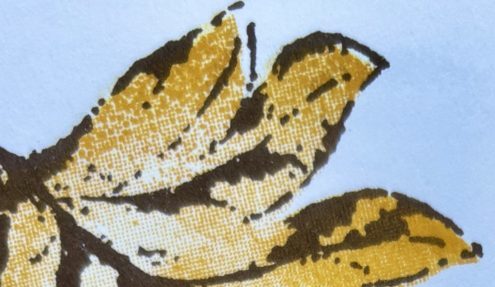

Well this card turned into quite a challenge! I packed my crafty bag to take to the caravan with my autumn themed card, lovely leaves, yellows, browns and gorgeous papers. I was raring to go on Saturday morning- a whole day to craft and make. Then I discovered problem number one, no paper trimmer. I couldn’t do the craft along with my friends online and I was going to struggle to make anything with a decent straight edge! I phoned my friend who was coming to stay at the caravan and she brought her non Stampin’ Up!®️ guillotine so that solved that problem.
So card design sorted,I sat down with my friend to make the card, we got all the stamping done and then Mr BeenBusyCrafting aka Neil my husband said “it’s thank you not autumn, I got mixed up”
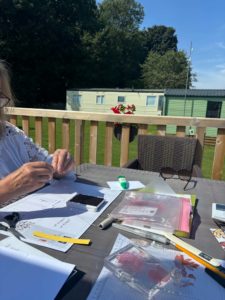
It was so lovely being able to craft on the decking.
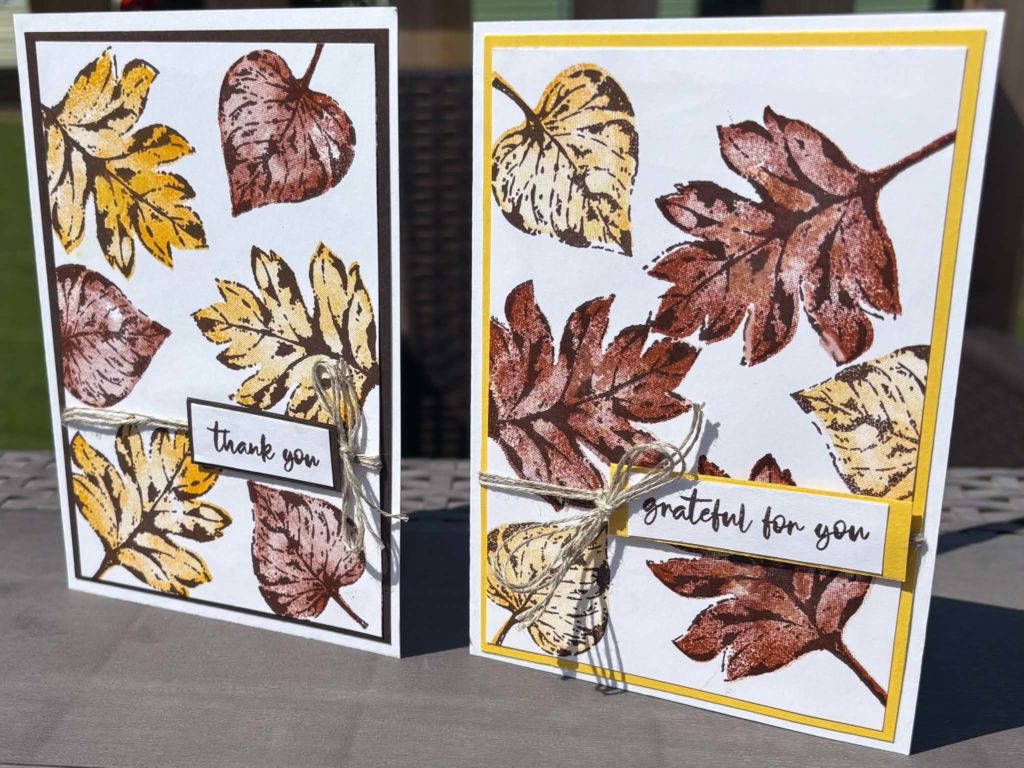
Here we are
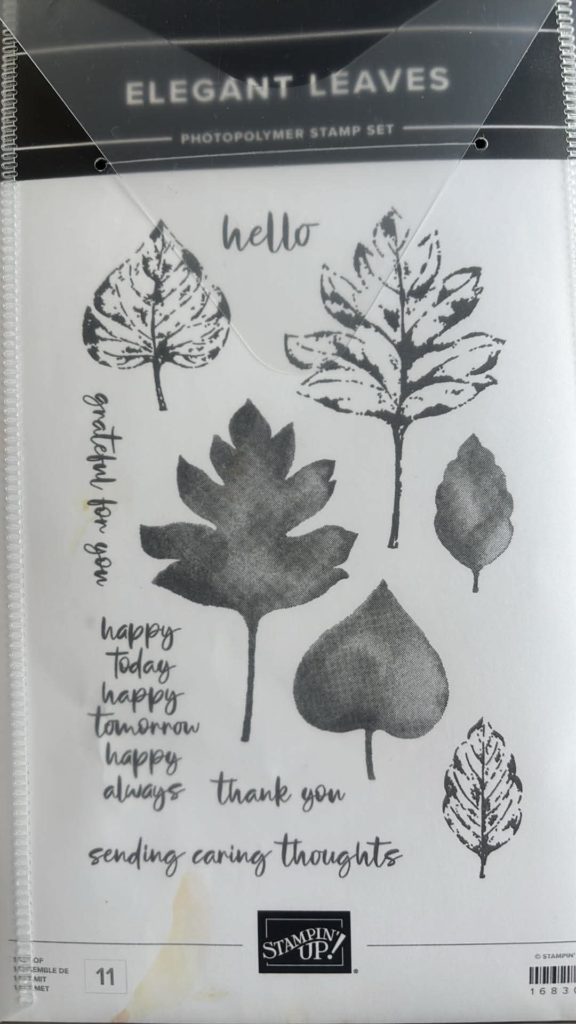
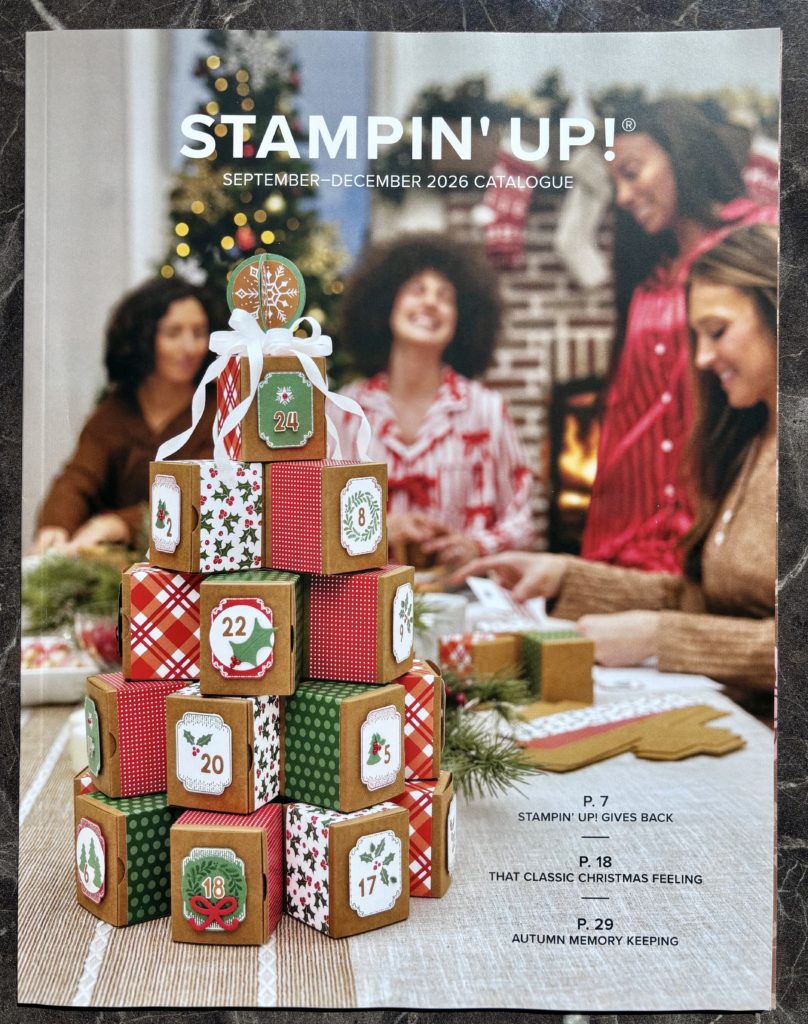
I had chosen the brand new Elegant Leaves stamp set. I got to play with it at a Stampin’ Up! event in Birmingham. I have included a photo because it’s not available yet but if you love it as much as me you might want to jot the item number down. It will be available in the new catalogue that goes live on 1 September.
So today I will be showing you how to make a beautiful Autumn themed Thank You card.
Begin by gathering everything you need
Thick Basic White card
Card base 21cm x 14.8cm – scored at 10.5cm on long edge
Basic White card
Layer 13.8cm x 9.5cm, strip for sentiment 1.5cm cut to appropriate length
Contrasting card
Layer 14.3cm x 10cm, strip to mount sentiment 2cm cut to appropriate length
Linen thread
Ink Pads in autumnal colours
Daffodil Delight, Cajun Craze, Early Espresso in this example
Stamp Set
Elegant Leaves
The Elegant Leaves stamp set is a really good two step stamping set for crafters of all abilities. First of all you need to stamp the outlines and then either choose an alternative colour to ink up the stamp that fills the design or to use a “stamped off” infill with the same colour.
In my example I stamped 3 each of 2 different leaf images using Early Espresso ink
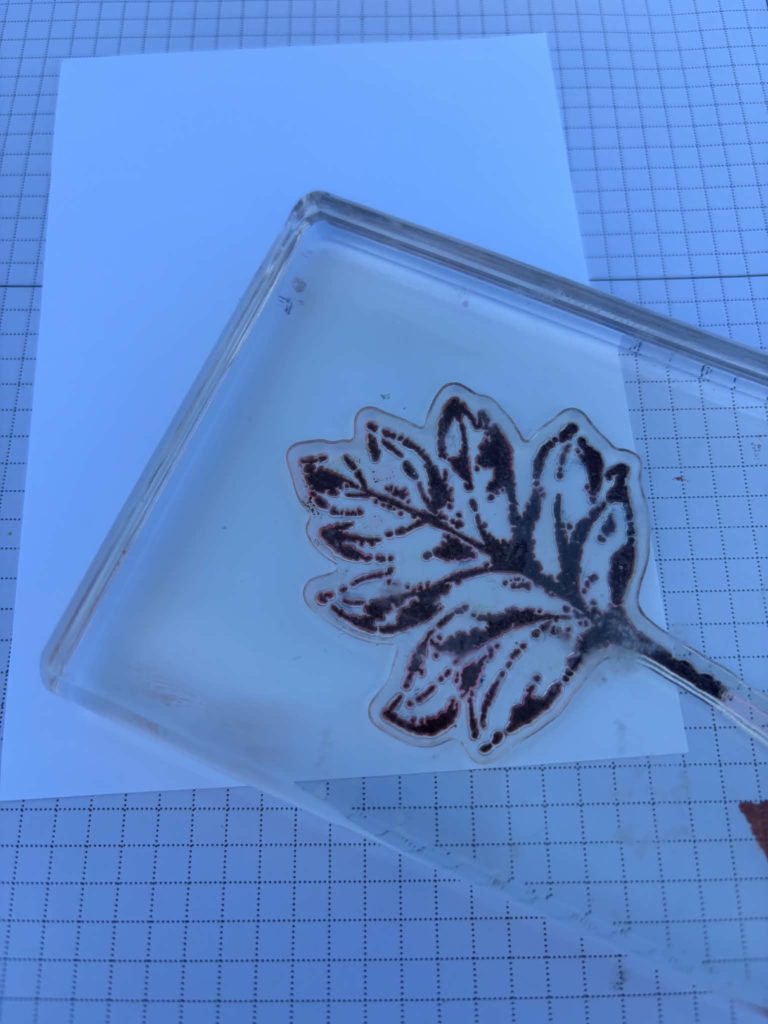
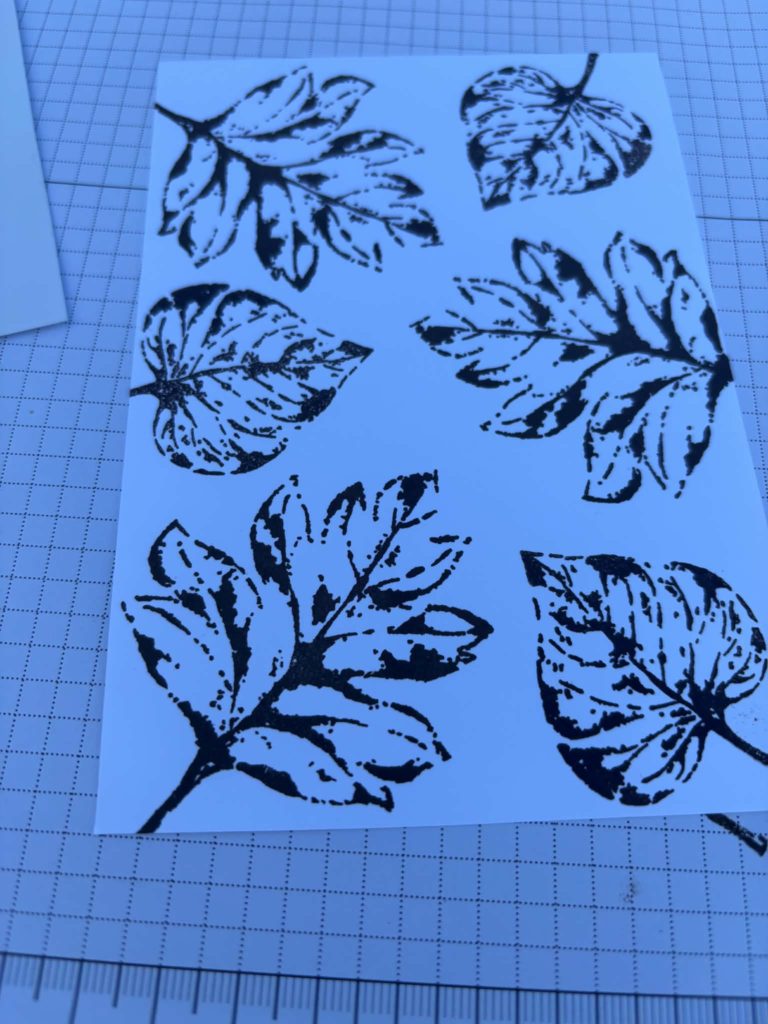
Then use the infill stamps to add colour to the leaves.
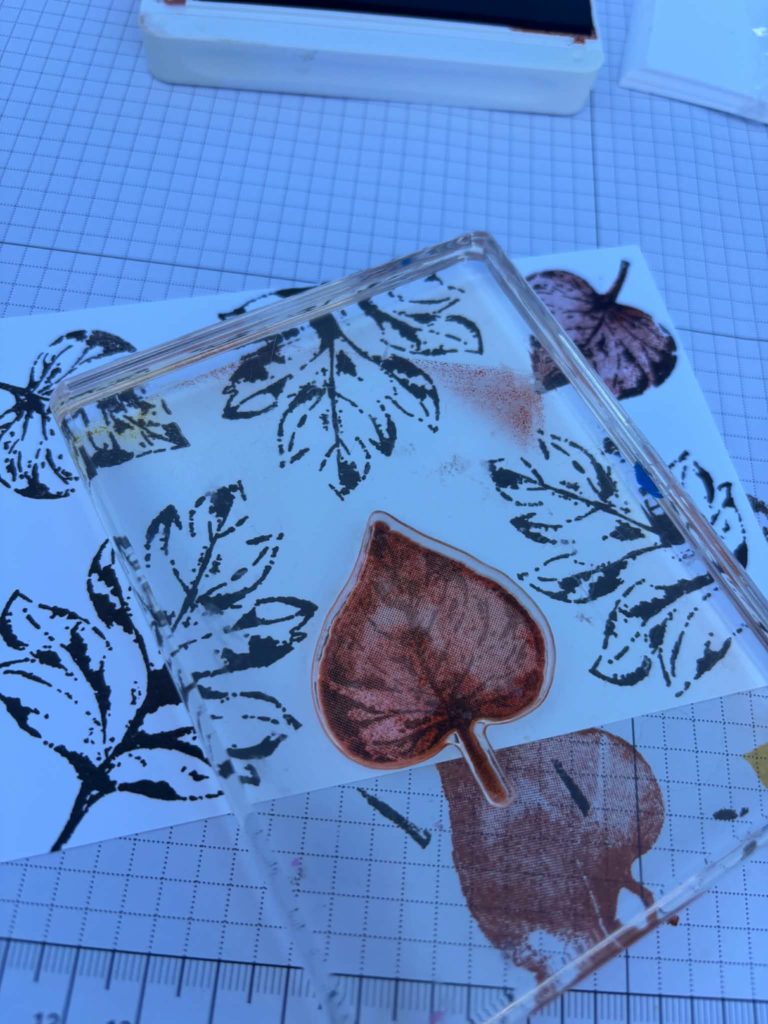
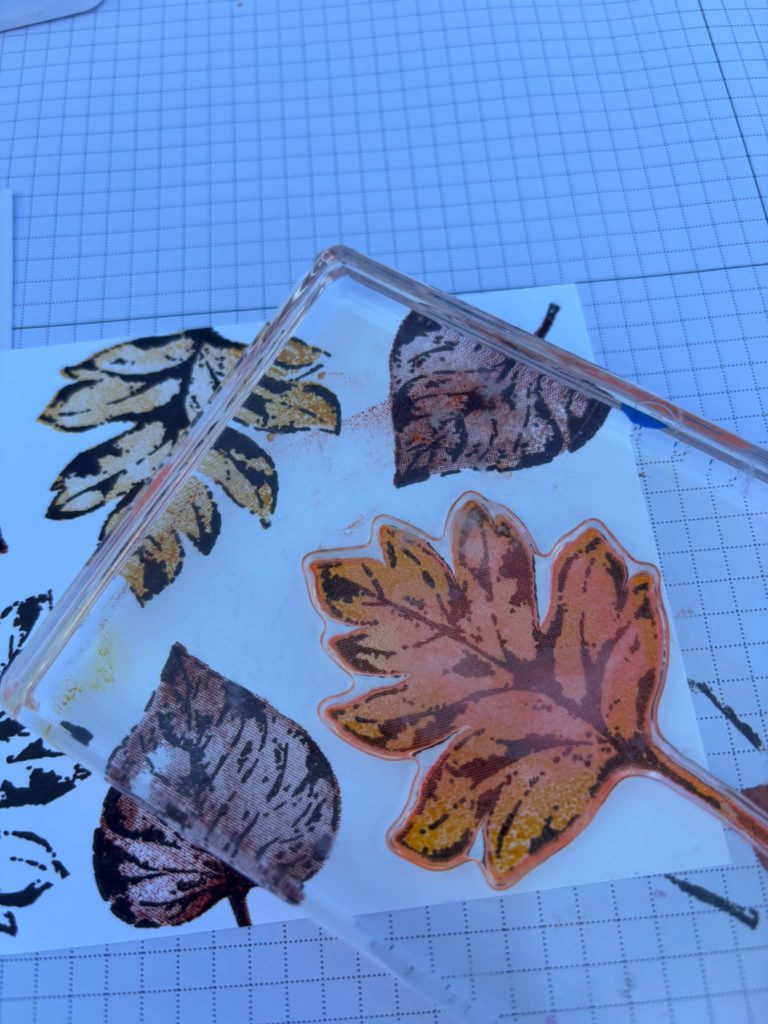
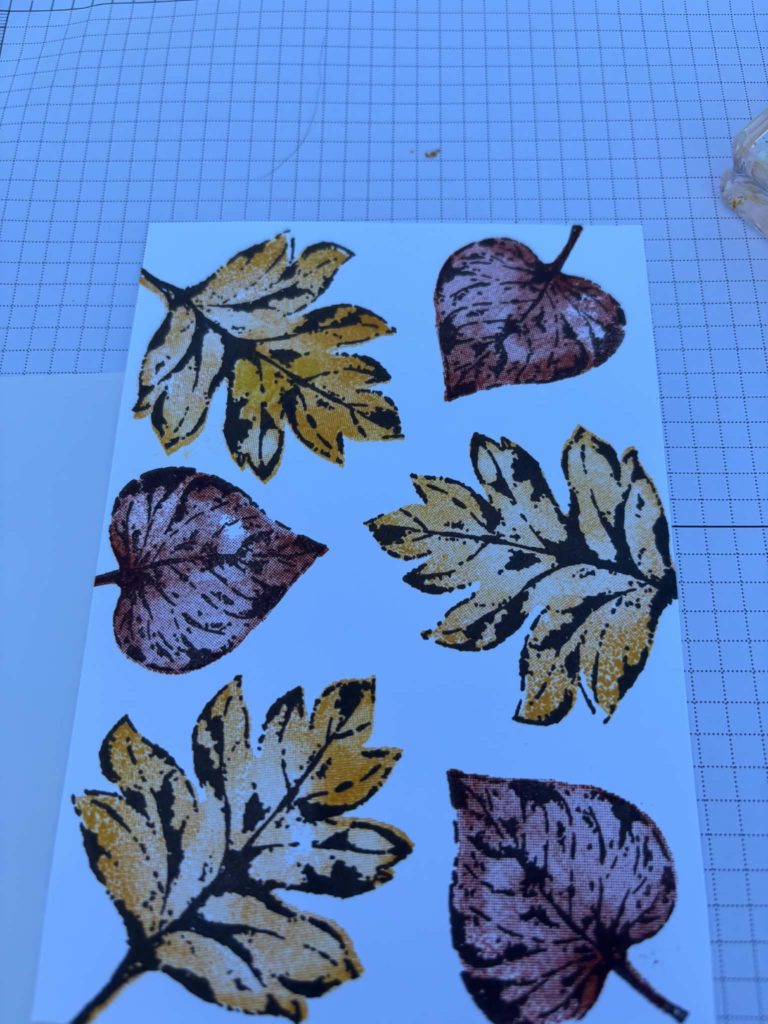
Once all of the leaves are coloured, add a couple rounds of Linen thread. Secure to the back of the card using double sided tape. Apply multi purpose adhesive to the back of the layer and stick it to the next mat layer.
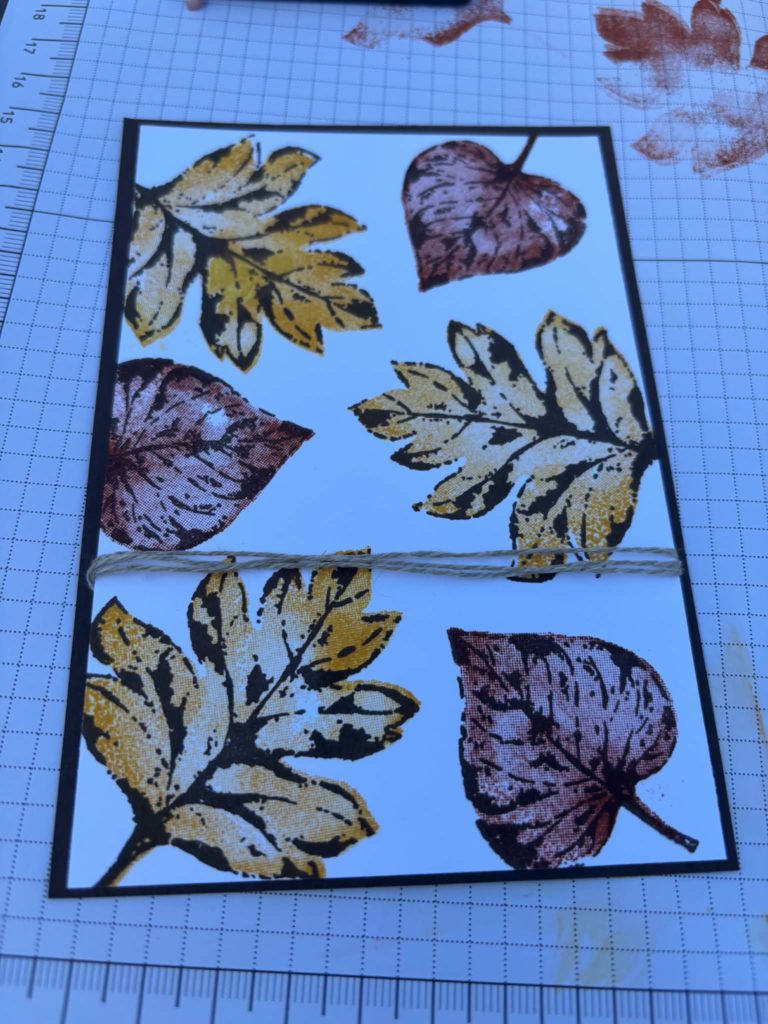
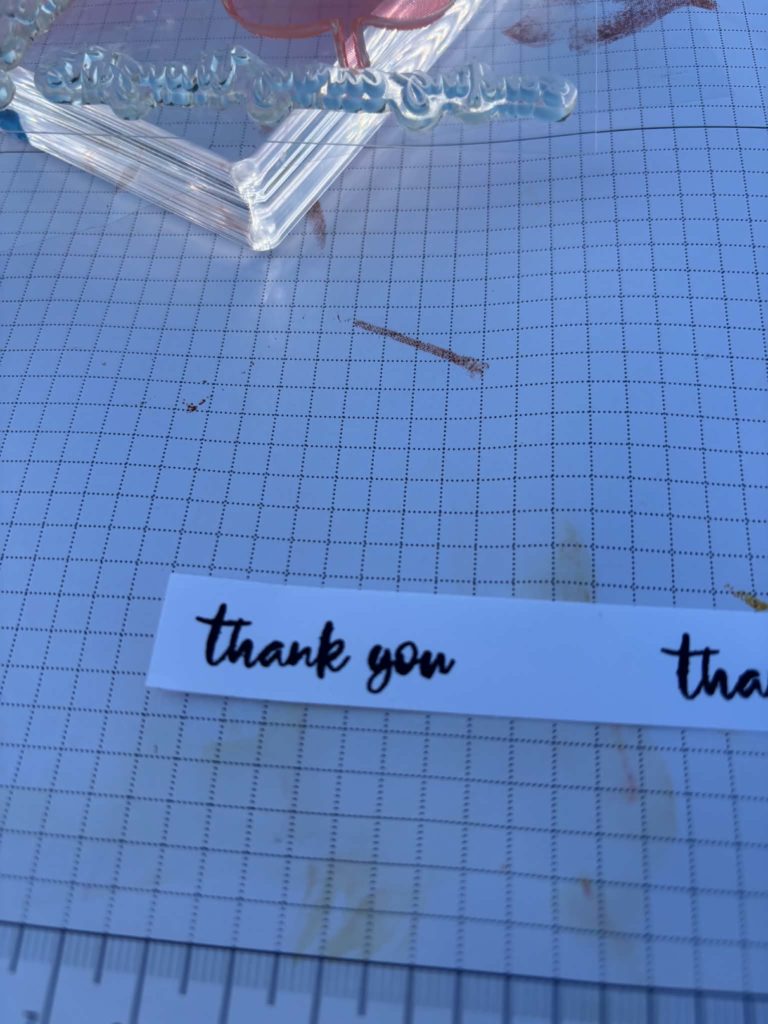
Stamp your sentiment onto the white card strip, I chose Early Espresso. Trim to size. Use multi purpose adhesive to stick the sentiment on to your contrasting card strip- for this I chose Early Espresso again.
Apply Stampin’ Dimensionals to the back of the contrasting strip and apply to card, overlapping the linen thread.
Use a double strand of linen thread and tie a bow around the existing linen thread to add some detail. You can see this on the finished card.
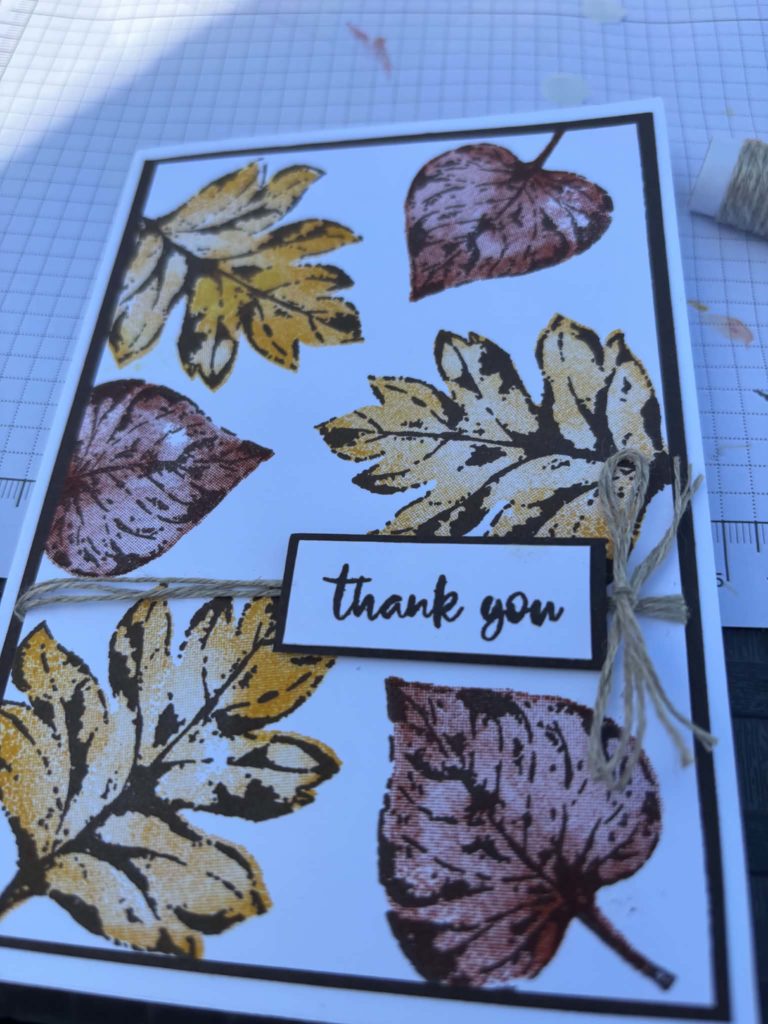
Here are the finished cards, the same, only different!
![Basic White A4 Thick Cardstock [ 159230 ]](https://assets1.tamsnetwork.com/images/EC042017NF/159230s.jpg "Basic White A4 Thick Cardstock [ 159230 ]")
![Basic White A4 Cardstock [ 166781 ]](https://assets1.tamsnetwork.com/images/EC042017NF/166781s.jpg "Basic White A4 Cardstock [ 166781 ]")
![Early Espresso A4 Card Stock [ 121686 ]](https://assets1.tamsnetwork.com/images/EC042017NF/121686s.jpg "Early Espresso A4 Card Stock [ 121686 ]")
![Early Espresso Classic Stampin' Pad [ 147114 ]](https://assets1.tamsnetwork.com/images/EC042017NF/147114s.jpg "Early Espresso Classic Stampin' Pad [ 147114 ]")
![Daffodil Delight A4 Card Stock [ 121680 ]](https://assets1.tamsnetwork.com/images/EC042017NF/121680s.jpg "Daffodil Delight A4 Card Stock [ 121680 ]")
![Daffodil Delight Classic Stampin' Pad [ 147094 ]](https://assets1.tamsnetwork.com/images/EC042017NF/147094s.jpg "Daffodil Delight Classic Stampin' Pad [ 147094 ]")
![Cajun Craze Classic Stampin' Pad [ 147085 ]](https://assets1.tamsnetwork.com/images/EC042017NF/147085s.jpg "Cajun Craze Classic Stampin' Pad [ 147085 ]")
![Stampin' Dimensionals [ 104430 ]](https://assets1.tamsnetwork.com/images/EC042017NF/104430s.jpg "Stampin' Dimensionals [ 104430 ]")
![Multipurpose Liquid Glue [ 154974 ]](https://assets1.tamsnetwork.com/images/EC042017NF/154974s.jpg "Multipurpose Liquid Glue [ 154974 ]")
![Linen Thread [ 104199 ]](https://assets1.tamsnetwork.com/images/EC042017NF/104199s.jpg "Linen Thread [ 104199 ]")





Love a bit of simple stamping! Great cards Angela x
I had seen that set – might have to get it now!
Beautiful fall cards!