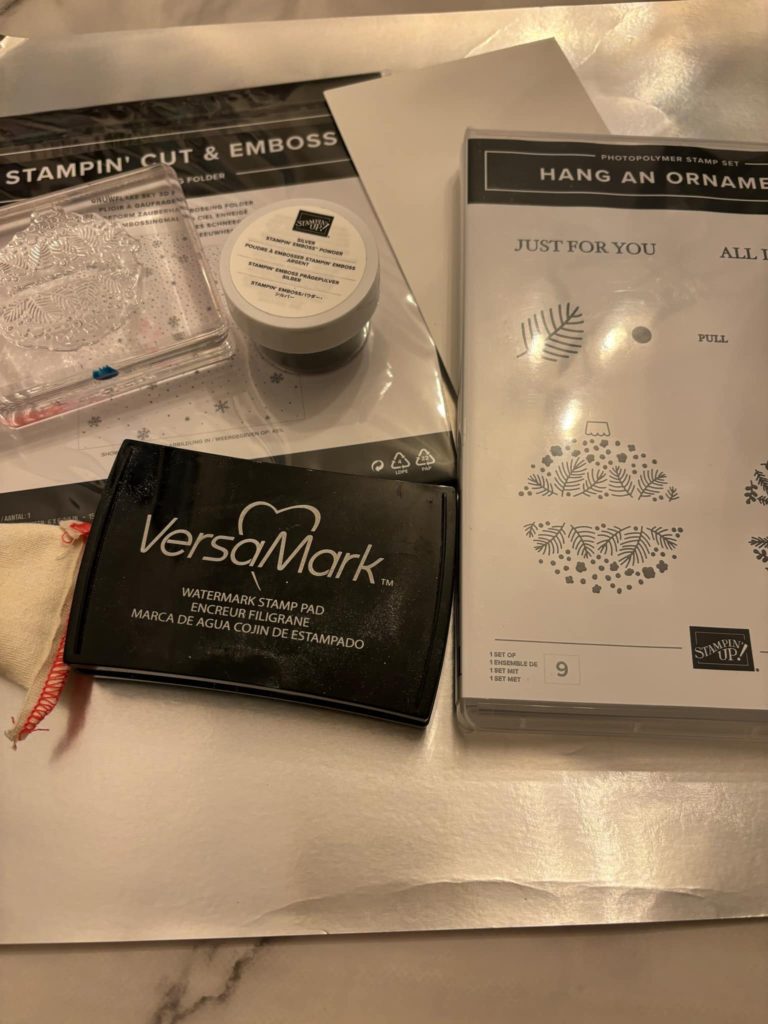
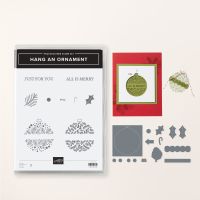
Get together everything you need.
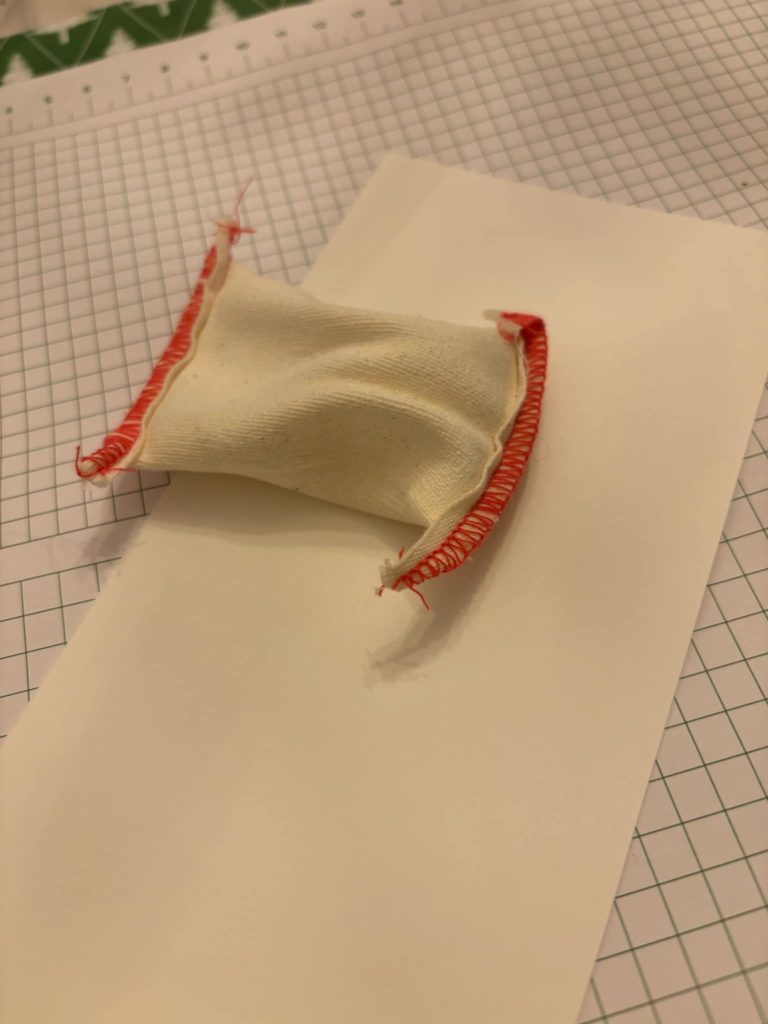
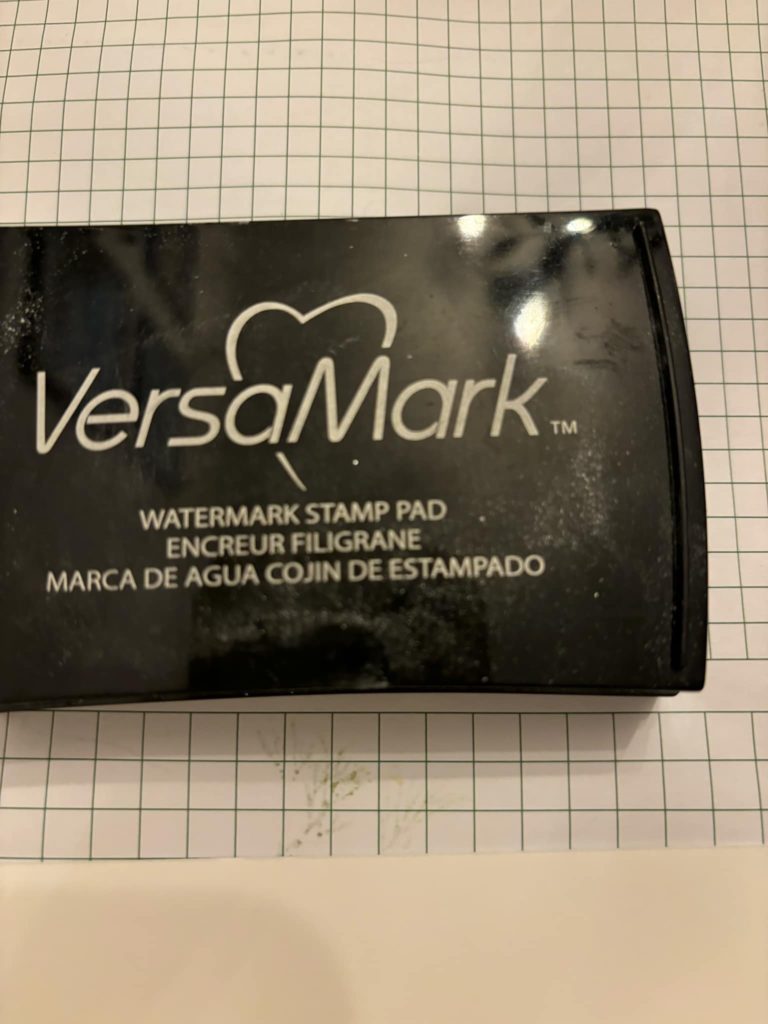
Rub an embossing pad over a piece of basic white card. This will reduce static on a the card and the embossing powder should only stick to the versamark.
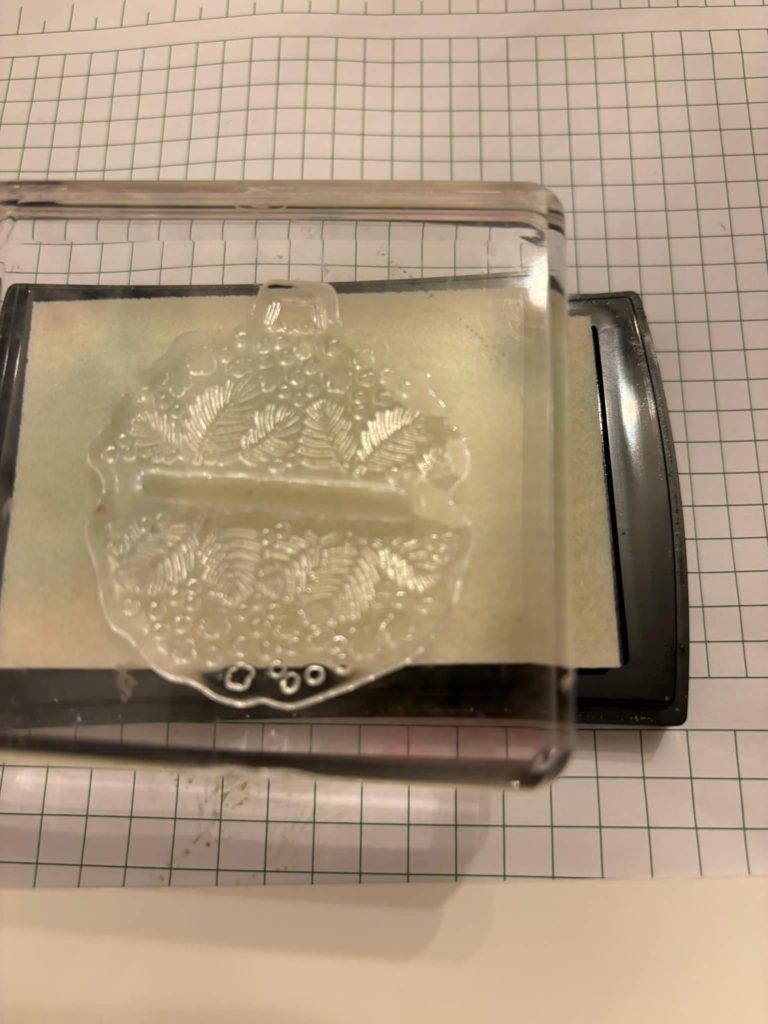
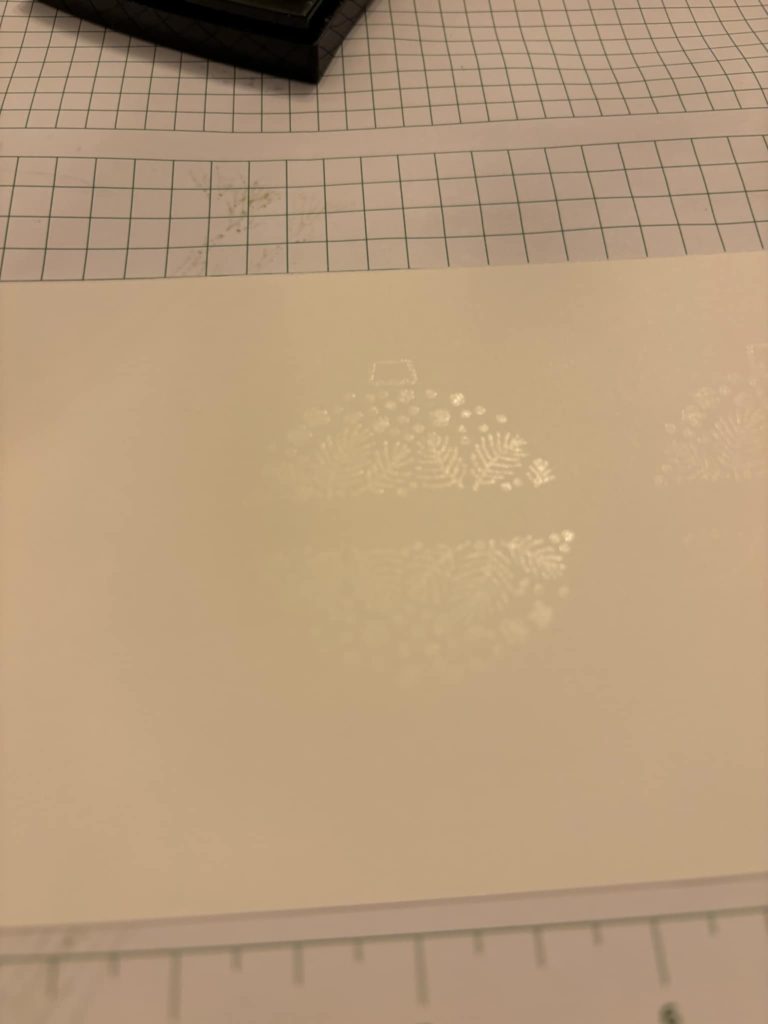
Ink up the bauble stamp using versamark and stamp onto white card. Repeat twice more.
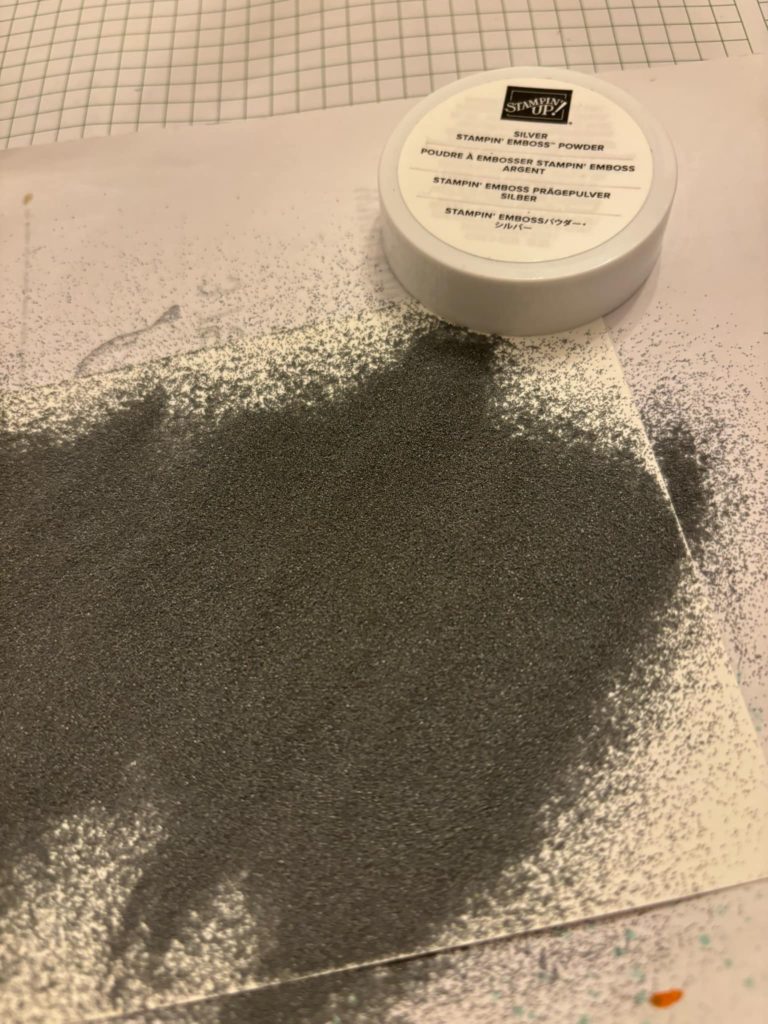
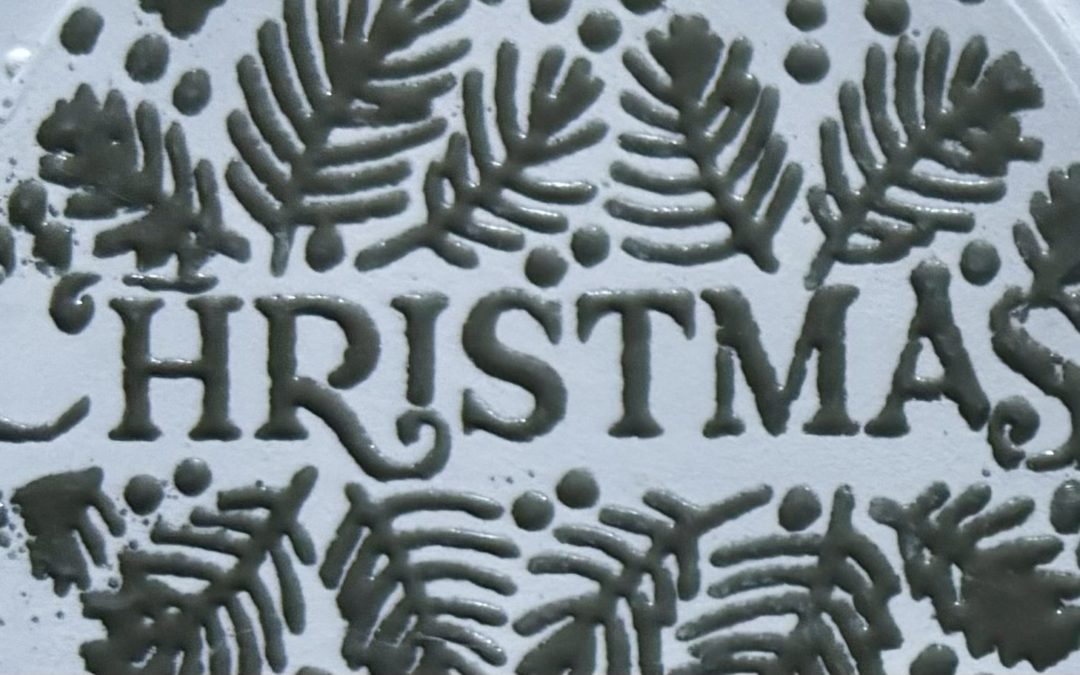
Pour silver embossing powder over the area, carefully shake the card to ensure good coverage and carefully shake excess powder onto a piece of paper.
Put the stamped card and versamark pad to one side while you tip the excess embossing powder back into its container and wipe down surface.
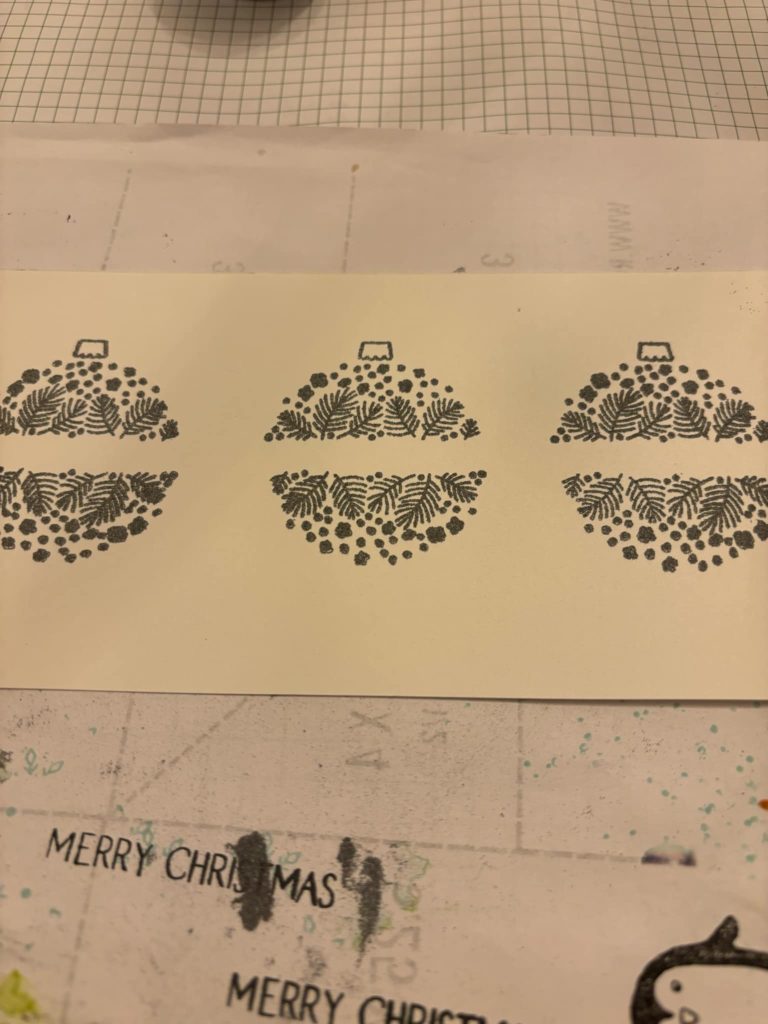
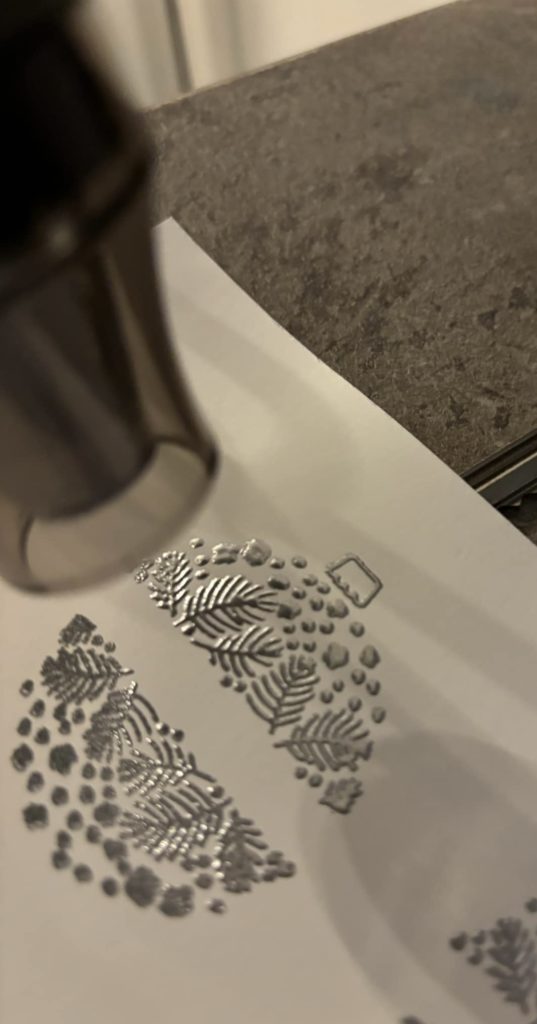
Heat up your embossing tool. Gradually move the heat over the embossed image, you will see the powder change from dull to shiny. Make sure all of the powder has changed.
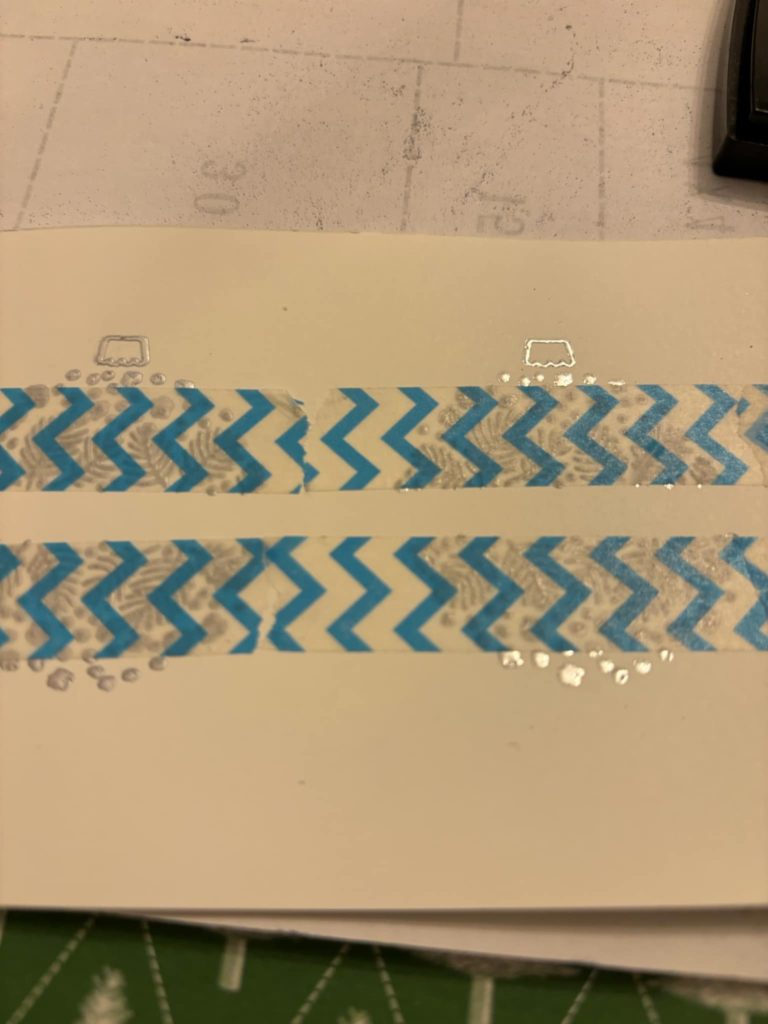
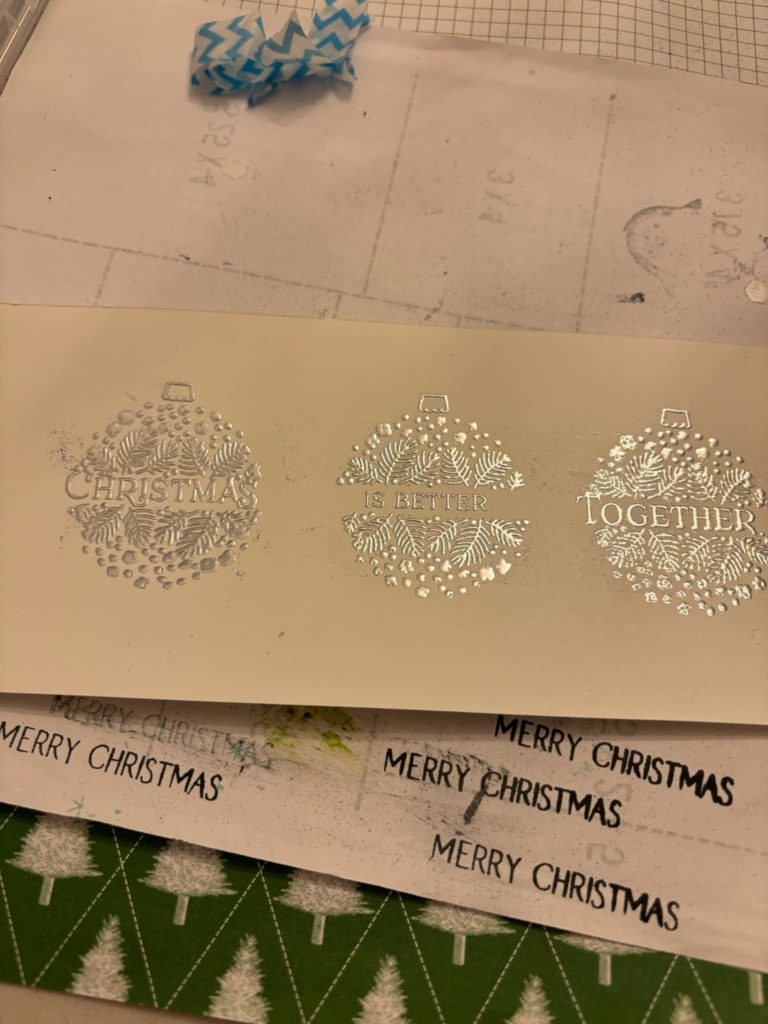
I chose to use the “Christmas Is Better Together” sentiment. Using washi tape I carefully masked the area around the bauble centre line and stamped the greeting into each bauble. Use embossing powder again and repeat the heat embossing process.
Carefully remove the washi tape.
Once the embossed designs are cool use the die to cut them out.
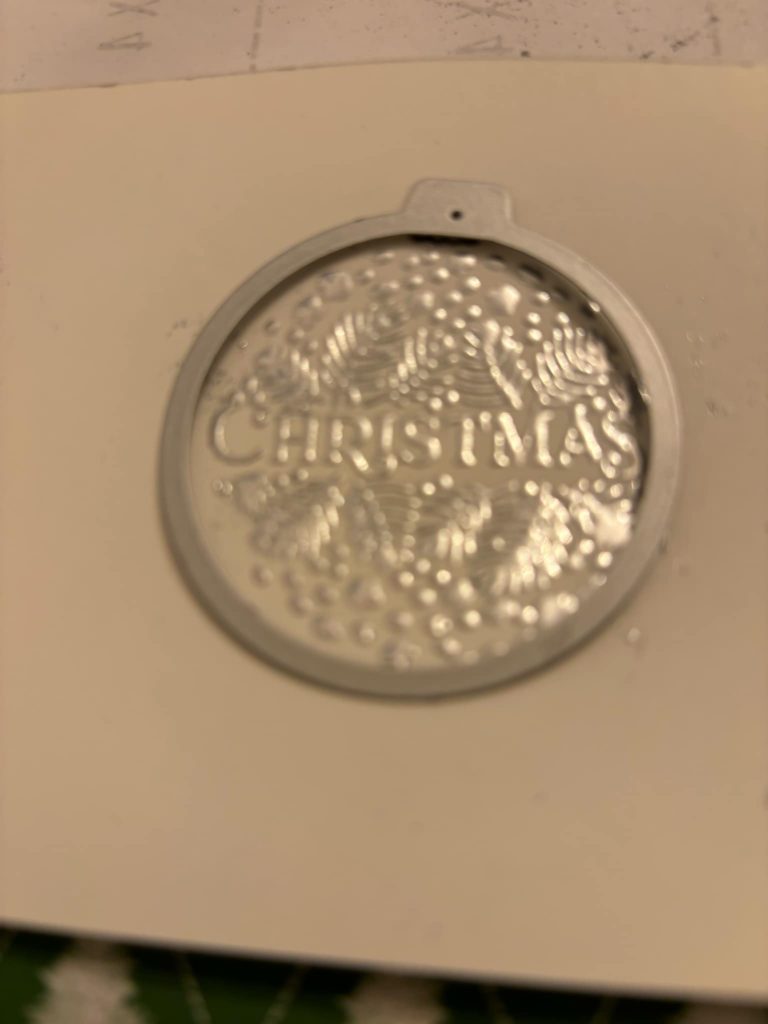
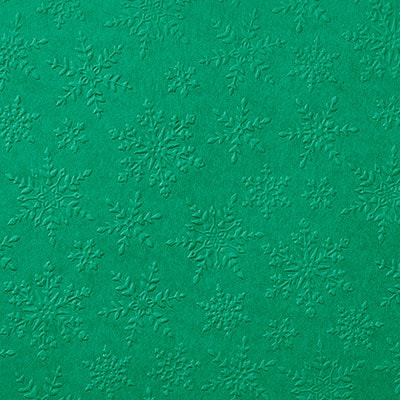
Use the “Falling Snow” embossing folder to emboss a mat layer. Add dimensionals to the back of the baubles.
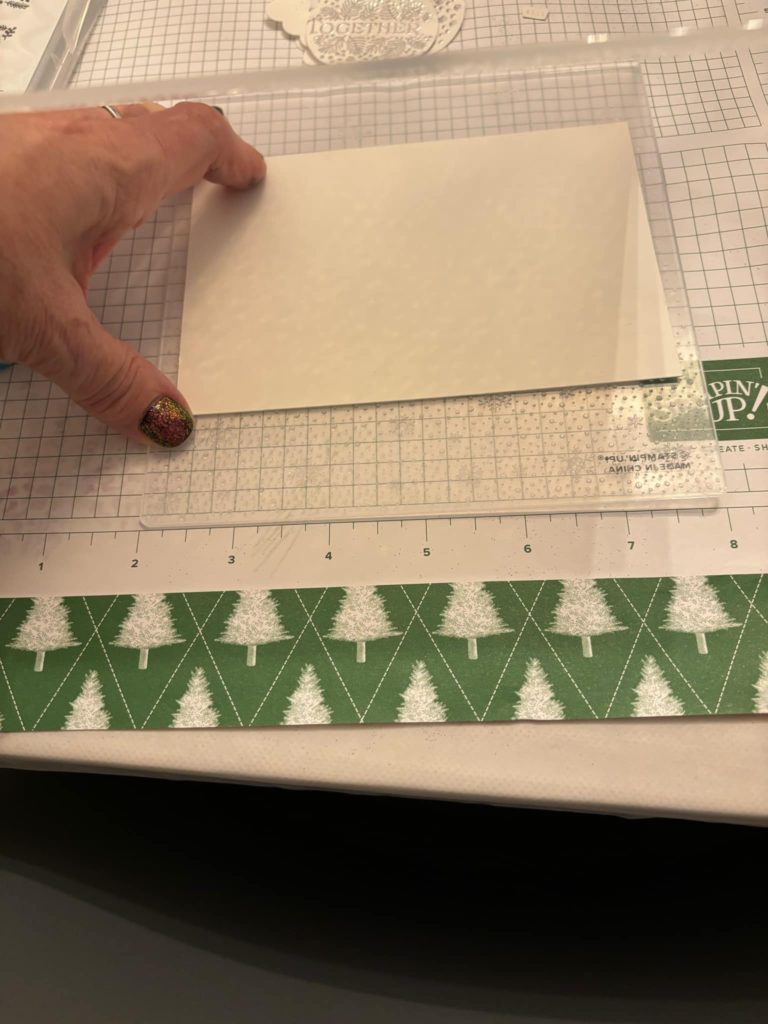
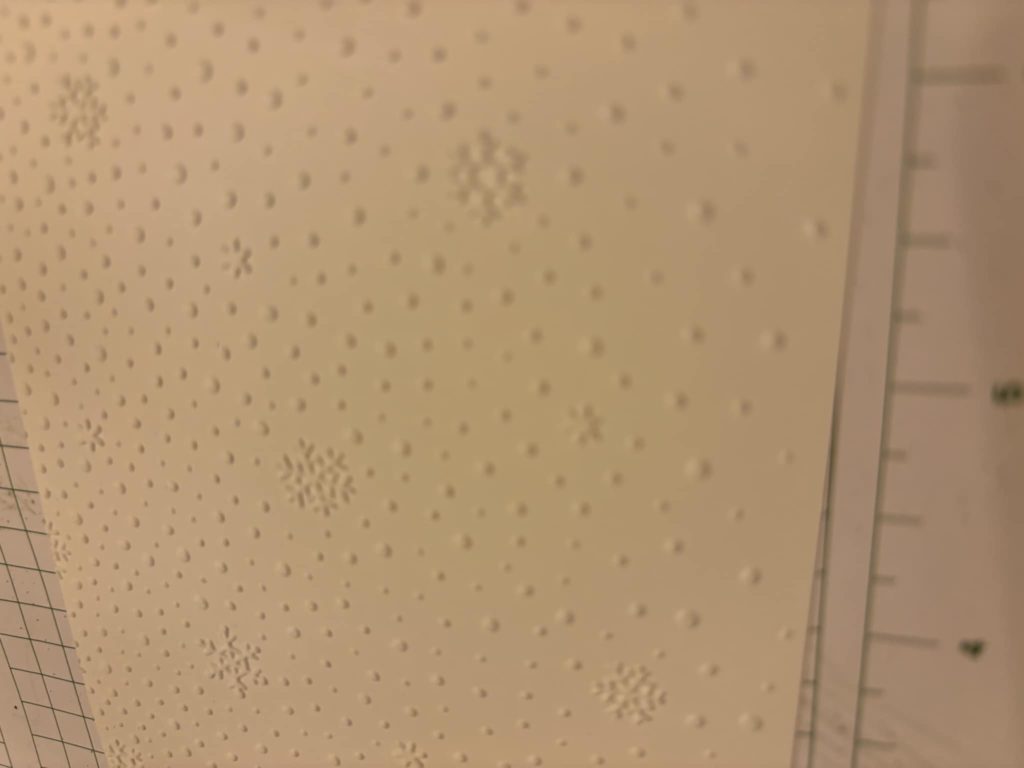
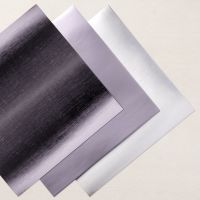
Remove the backing paper and apply a little bit of all purpose adhesive to each one. This is not to help it to stick but it just gives you a few moments to readjust the position of the baubles if you need to. Stick the baubles on the mat layer, cut 3 bauble tops from a silver scrap and attach to the card front.
Stick the card front to the silver layer and adhere that to the Basic White card base.
Add a greeting to the inside if you wish.
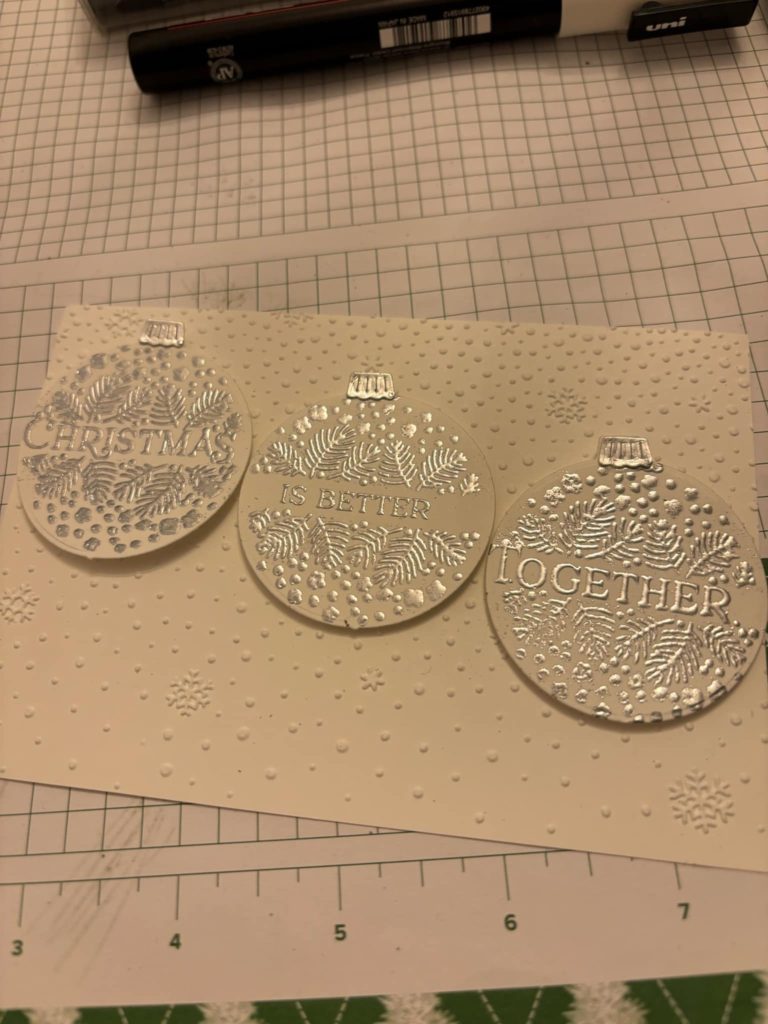
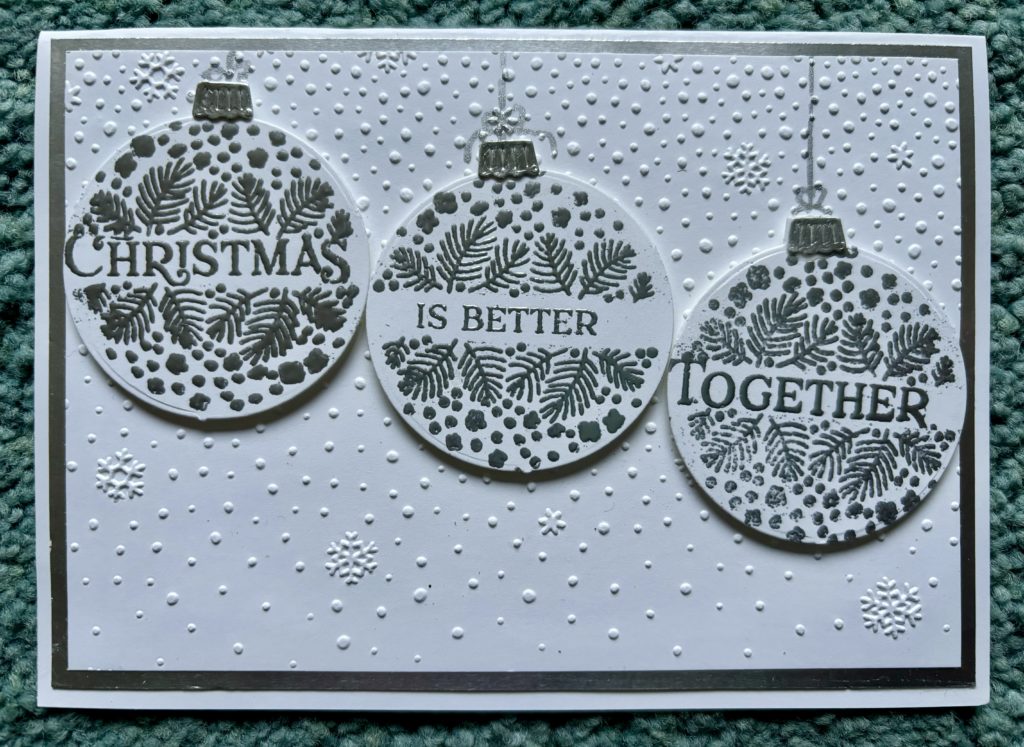
The finished card is shown below. If you need any more tips or information on this card or any other aspect of card making then please get in touch via the website.
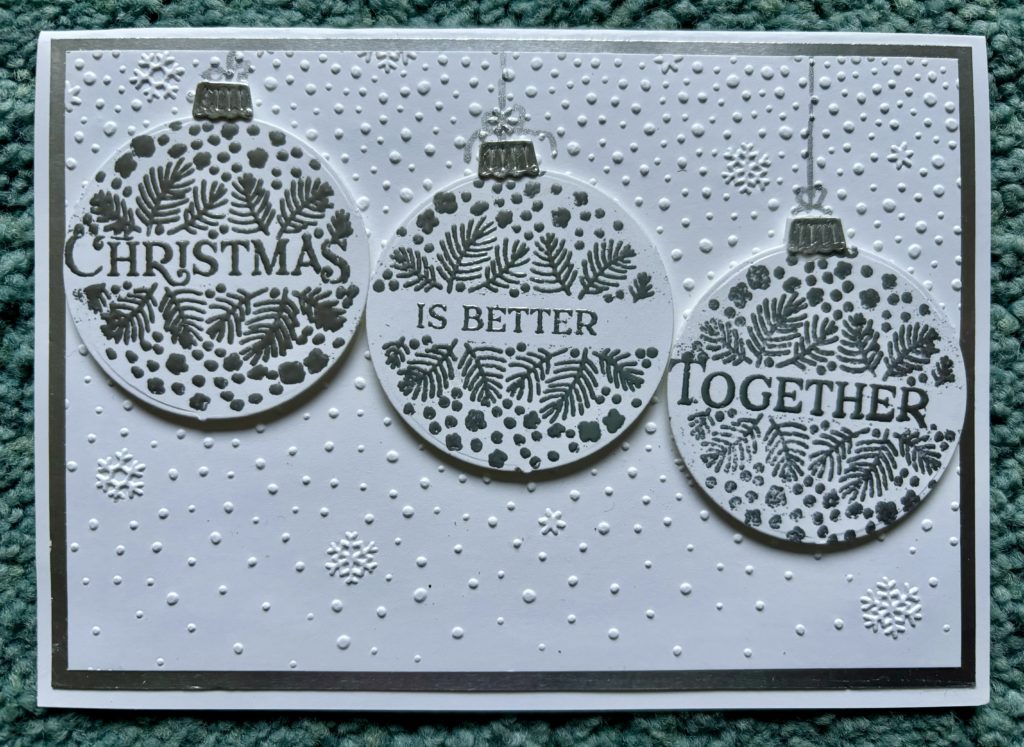








Gorgeous card. I must CASE it!
Love it.
Love the composition – greeting across 3 baubles …genius!