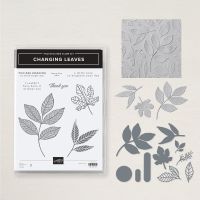
This months Blog Hop is to create a “Thanks” themed card. I think it’s quite timely but decided not to go down the thankful/harvest line but reached for one of my favourite sets from the main catalogue “Changing Leaves”. There is a stamp set, embossing folder and die set.
I used the die and embossing folder but the stamped image could be cut out with a good pair of snips.
Start of by getting everything together.
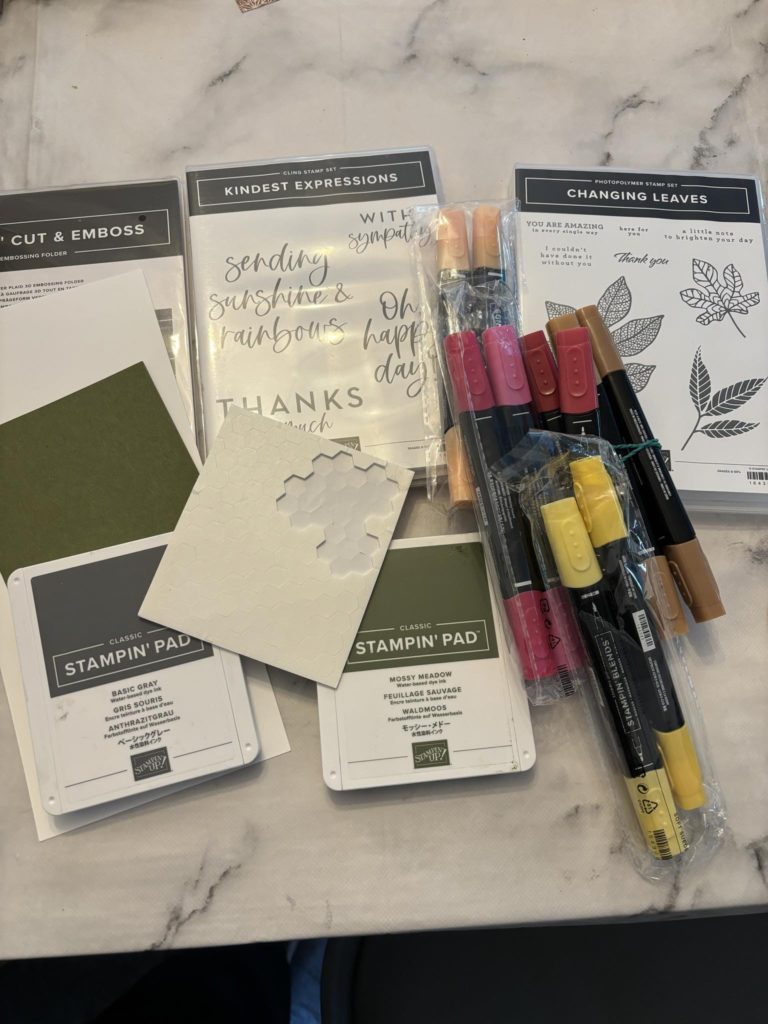
I used a Thick Basic White card base with a Mossy Meadow mat layer.
Mount the leaf stamp on to an acrylic block and stamp using an appropriate ink. I knew that I would be using Stampin’ Blends so needed a none solvent based ink. I used the Classic Ink Pad in Basic Grey.
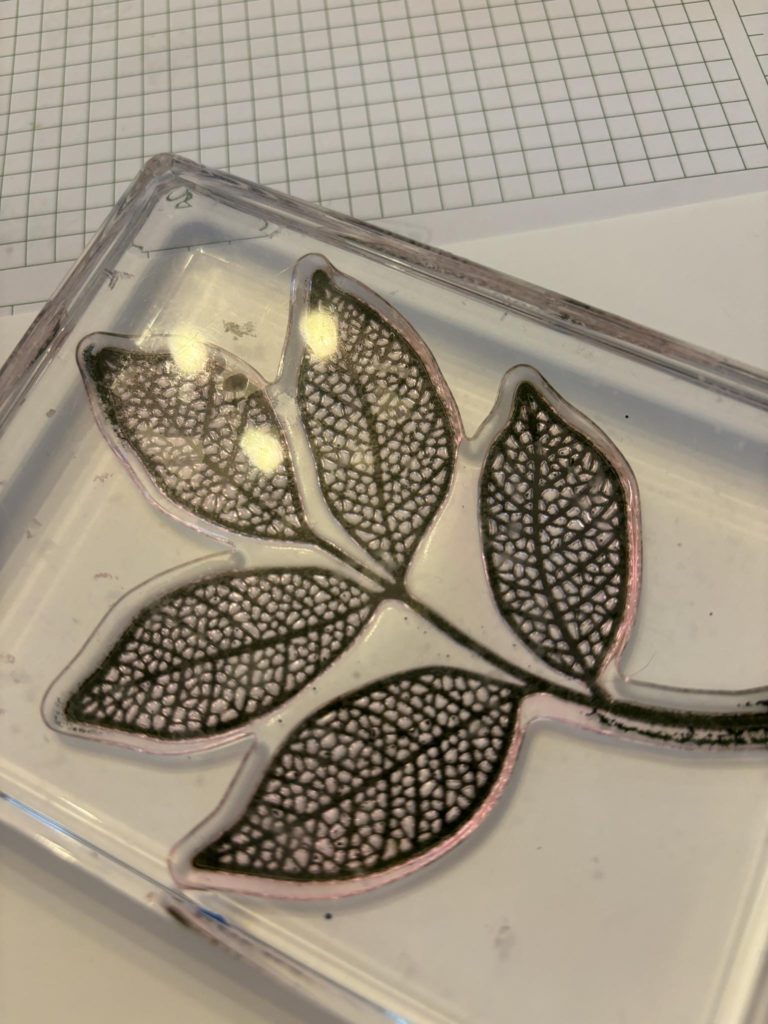
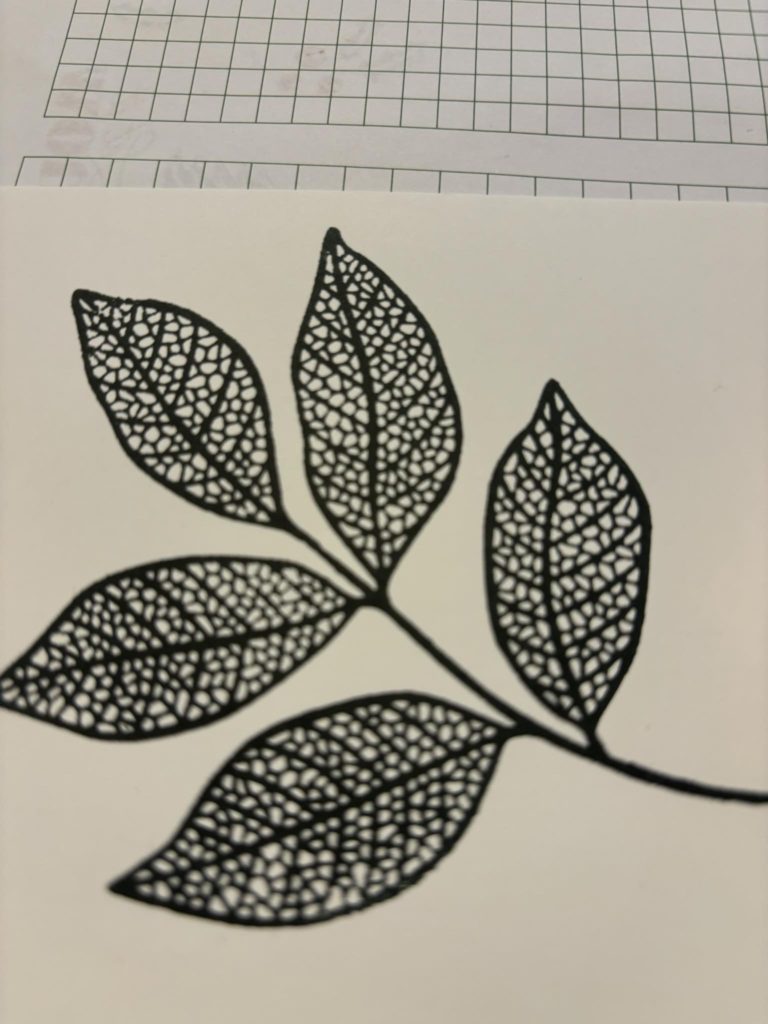
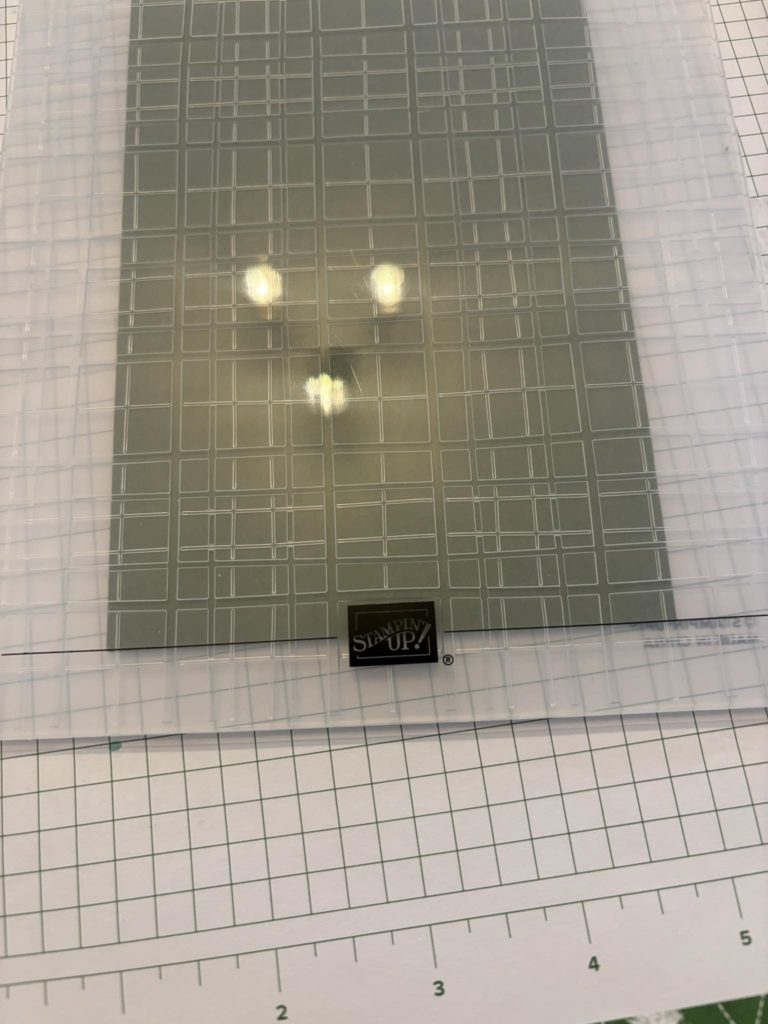
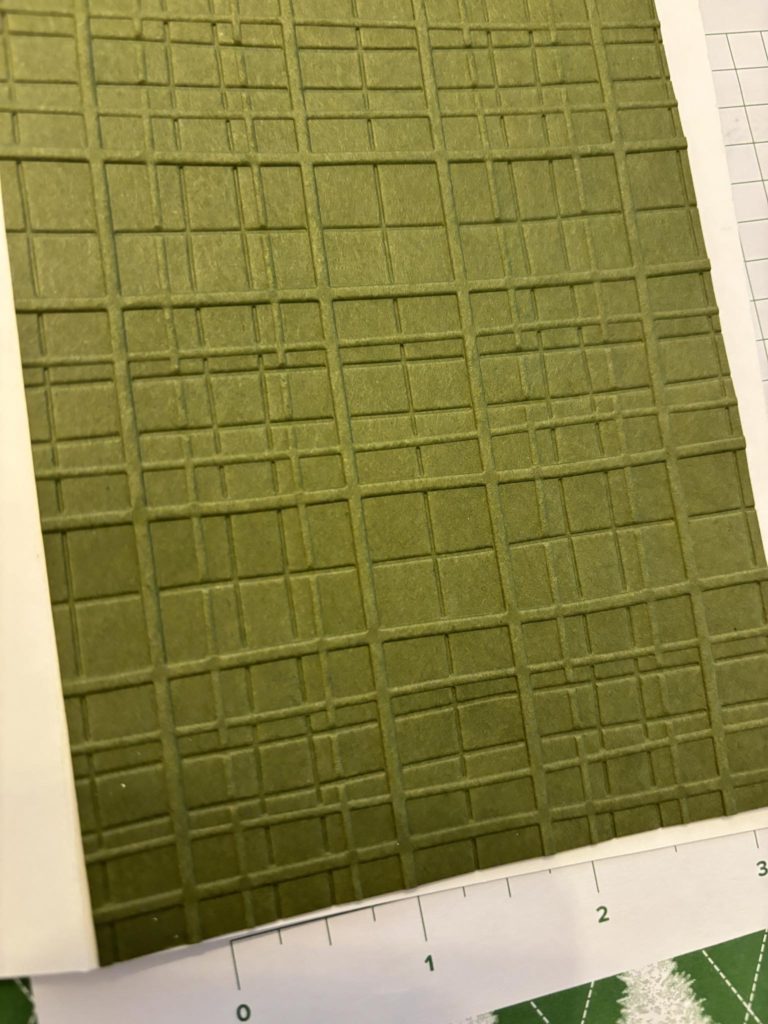
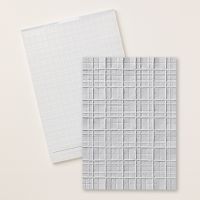
I left that to dry whilst I ran the mat layer through the Stampin’ Cut and Emboss machine in the Forever Plaid Folder. Can you see that I used the black line on the folder to make sure that the card was level?
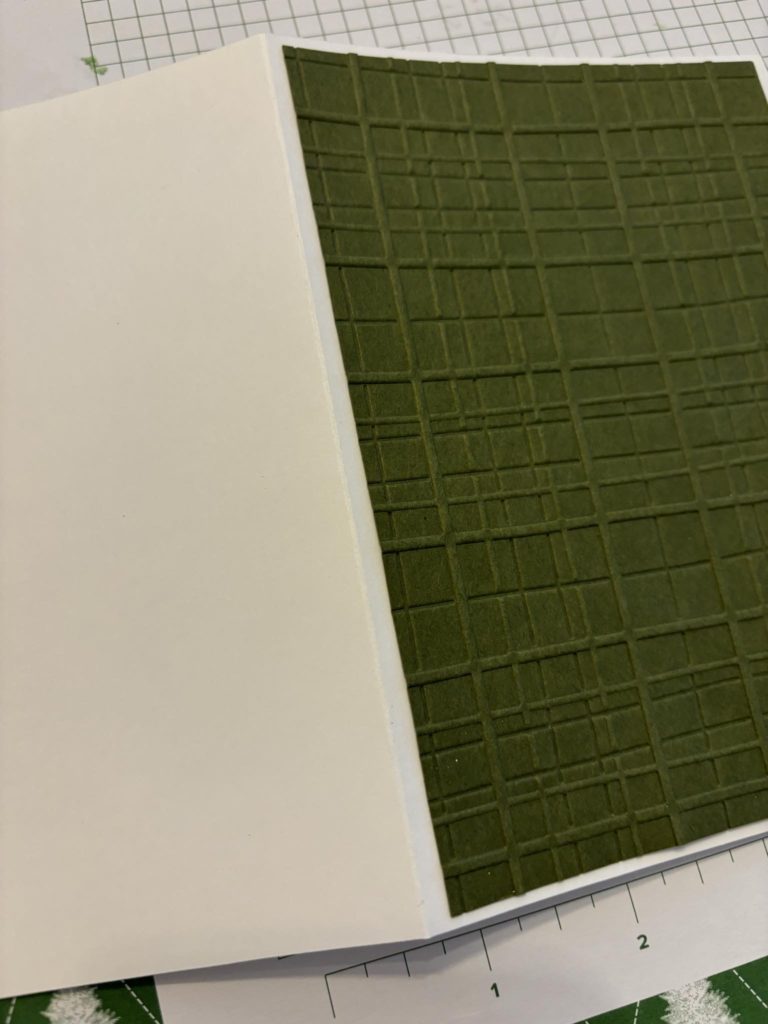
The embossed layer can be stuck on to the card base.
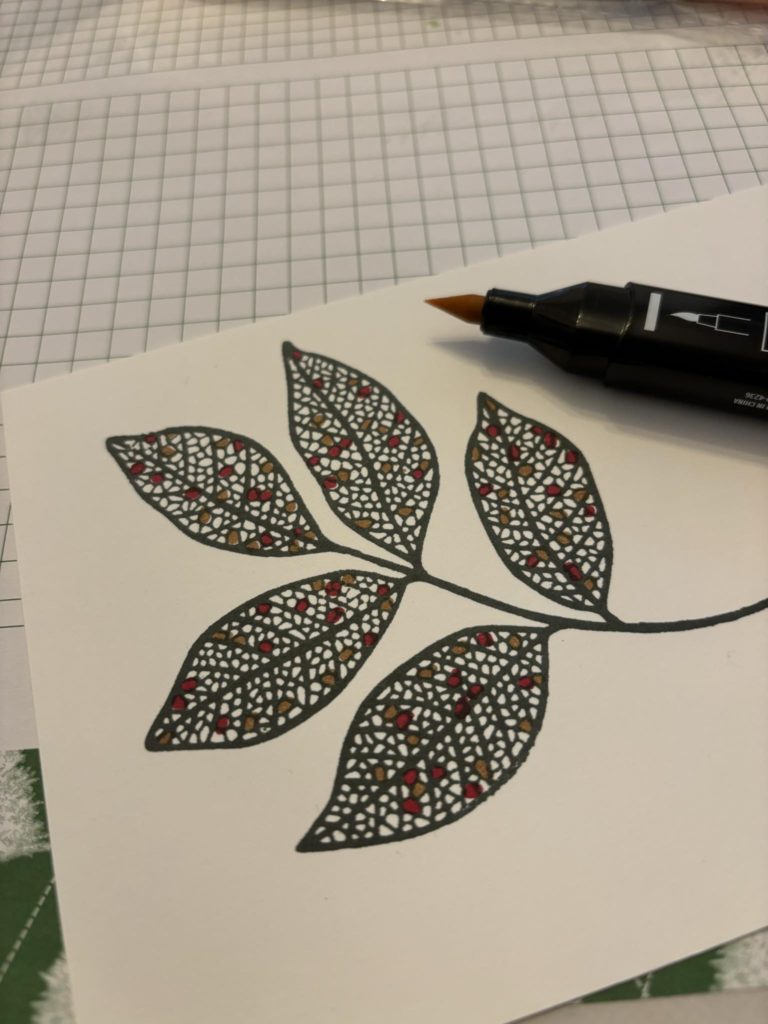
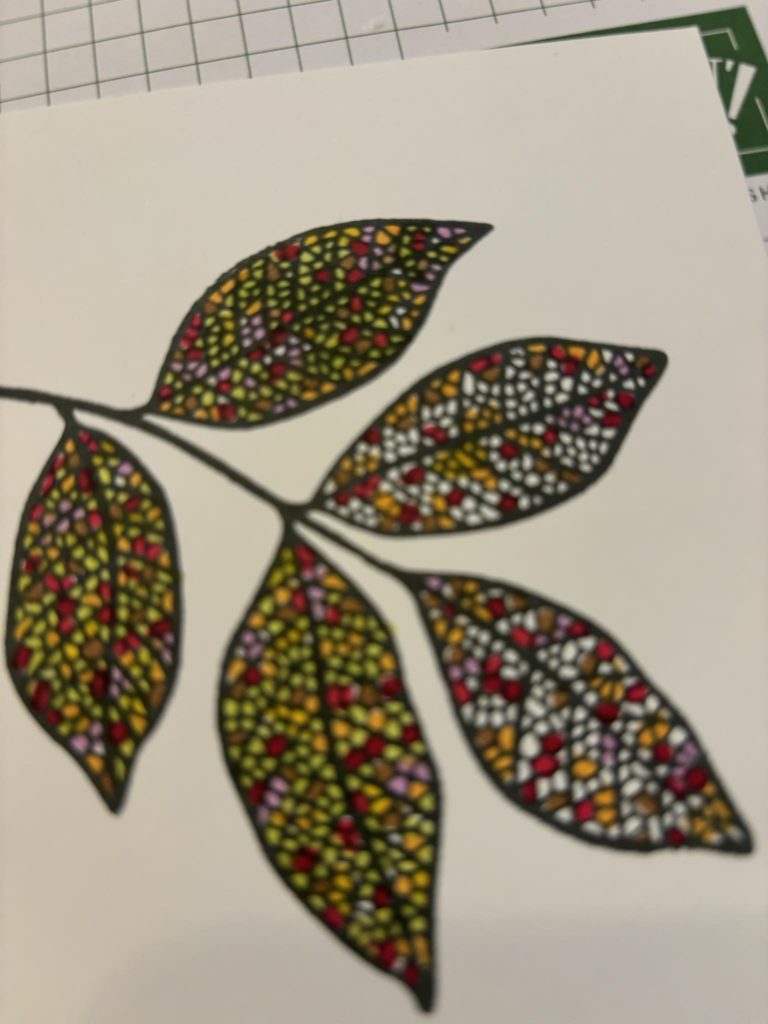
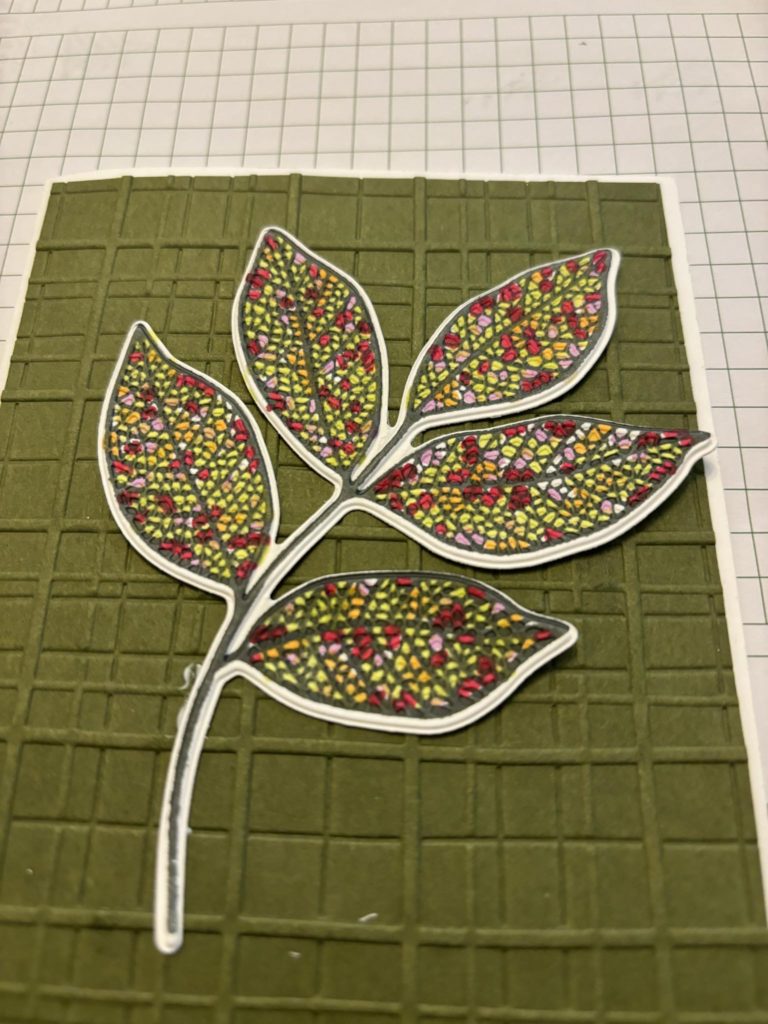
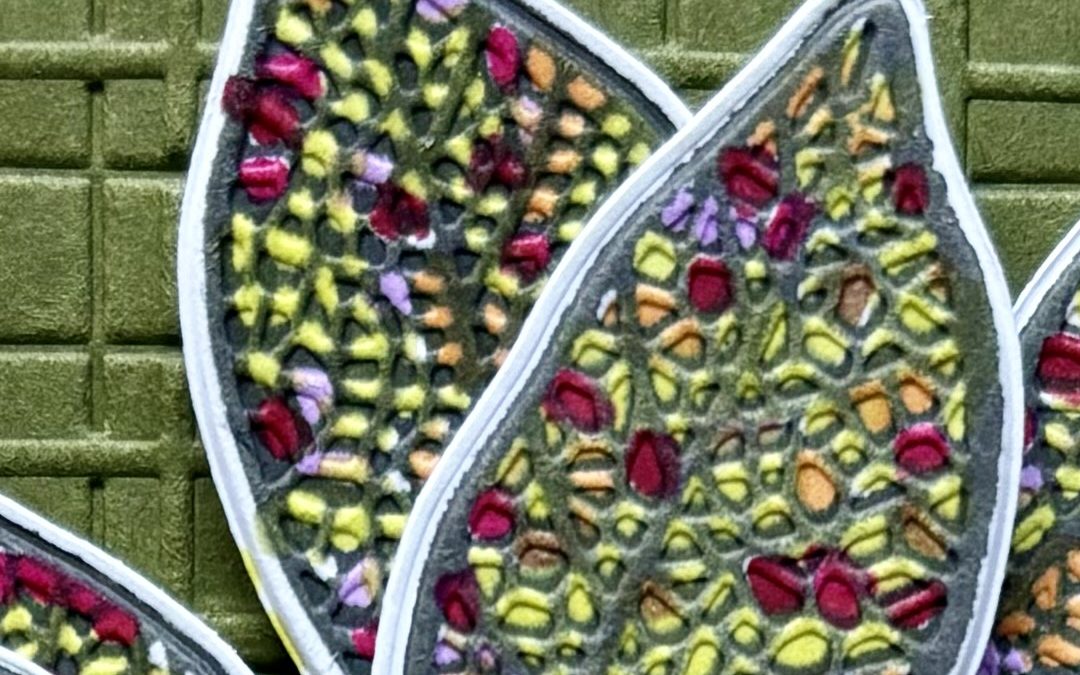
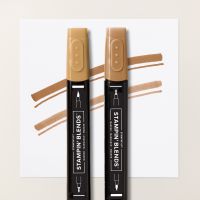
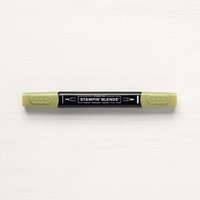
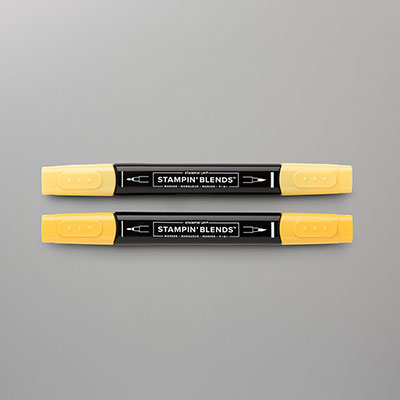
The next task is quite therapeutic and relaxing…… choose Stampin’ Blends in a range of autumnal shades. Colour each of the small spaces on the leaf with different shades. I tend to do about 15 of each colour on each leaf section and then choose a colour to fill in to rest. Once the colouring is done, cut out or die cut the leaves and emboss if you wish.
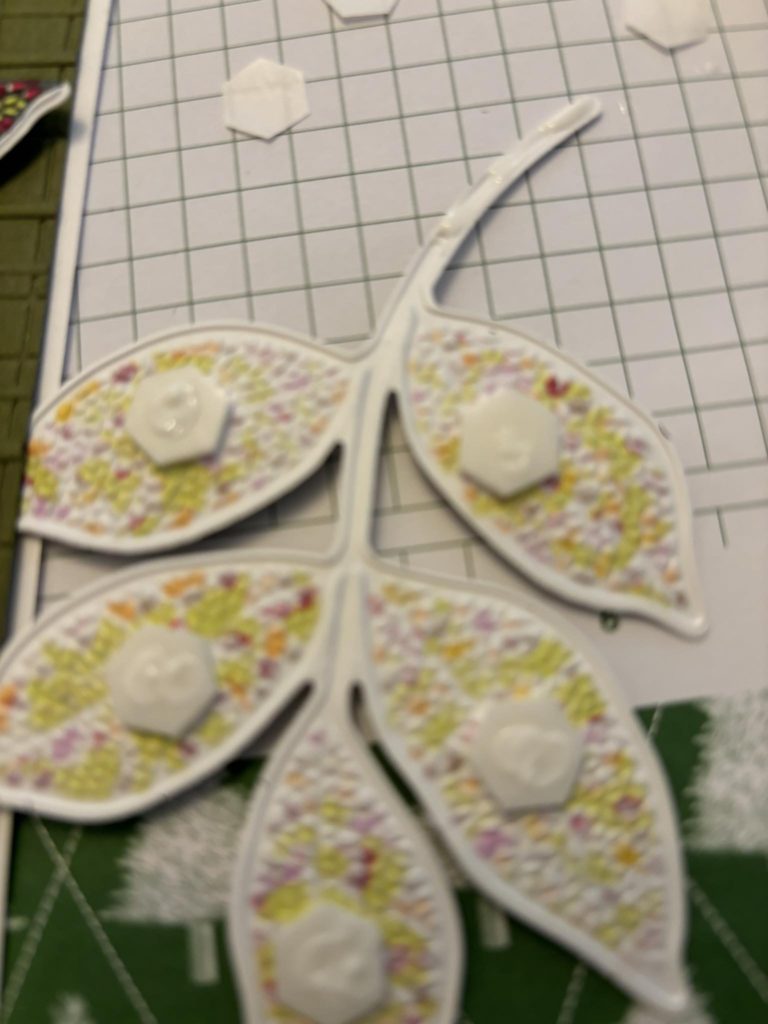
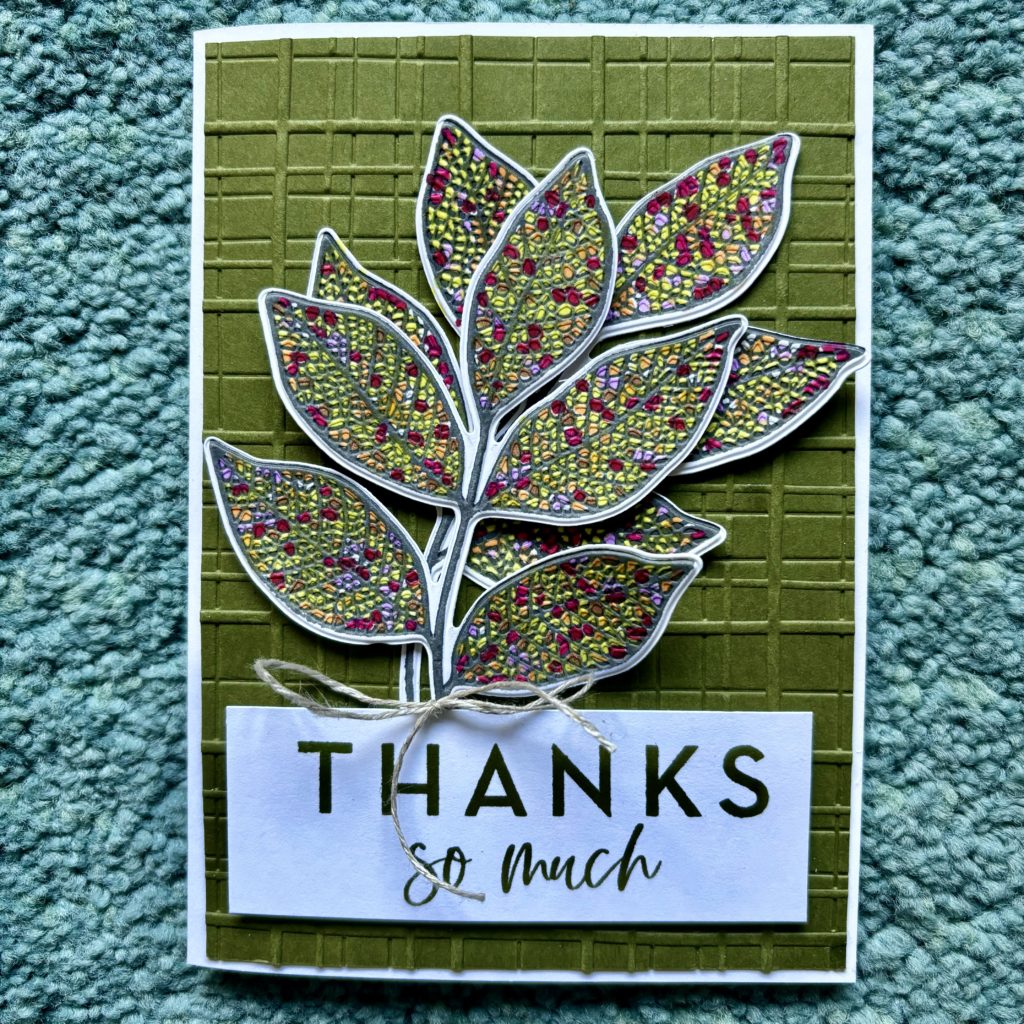
Use multi purpose adhesive to stick the first leaf in place and dimensionals to attach the second leaf. I tied some Linen Thread around the stem before attaching the greeting, also using dimensionals.
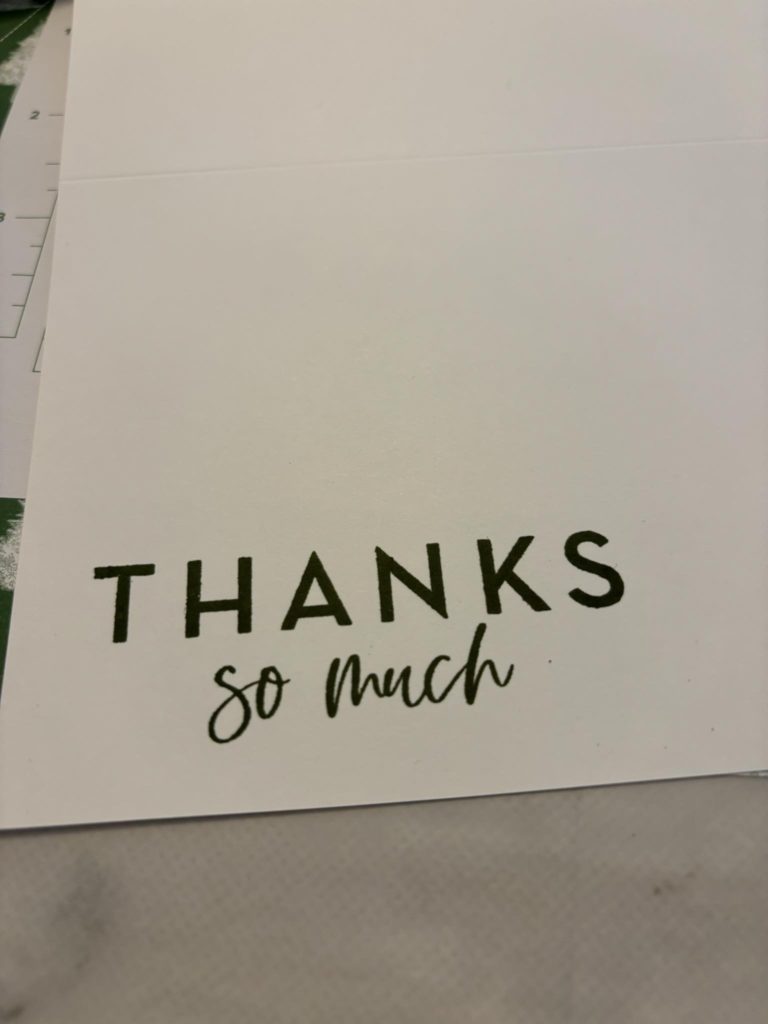
I stamped a simple sentiment using the Simply Said Stamp Set in Mossy Meadow ink on to basic white card.
This completes the card as shown below.




I love this idea of how to colour that gorgeous leaf, thank you Angela.
Beautiful. I love it. I need to add that set to my wish list
What a labour of love colouring the leaves like that…
Angela, you have the patience of Job but the results are stunning! It looks like stained glass! TFS and the detailed instructions.
Beautiful card. I love this idea x