It started with a sketch as per the image below.
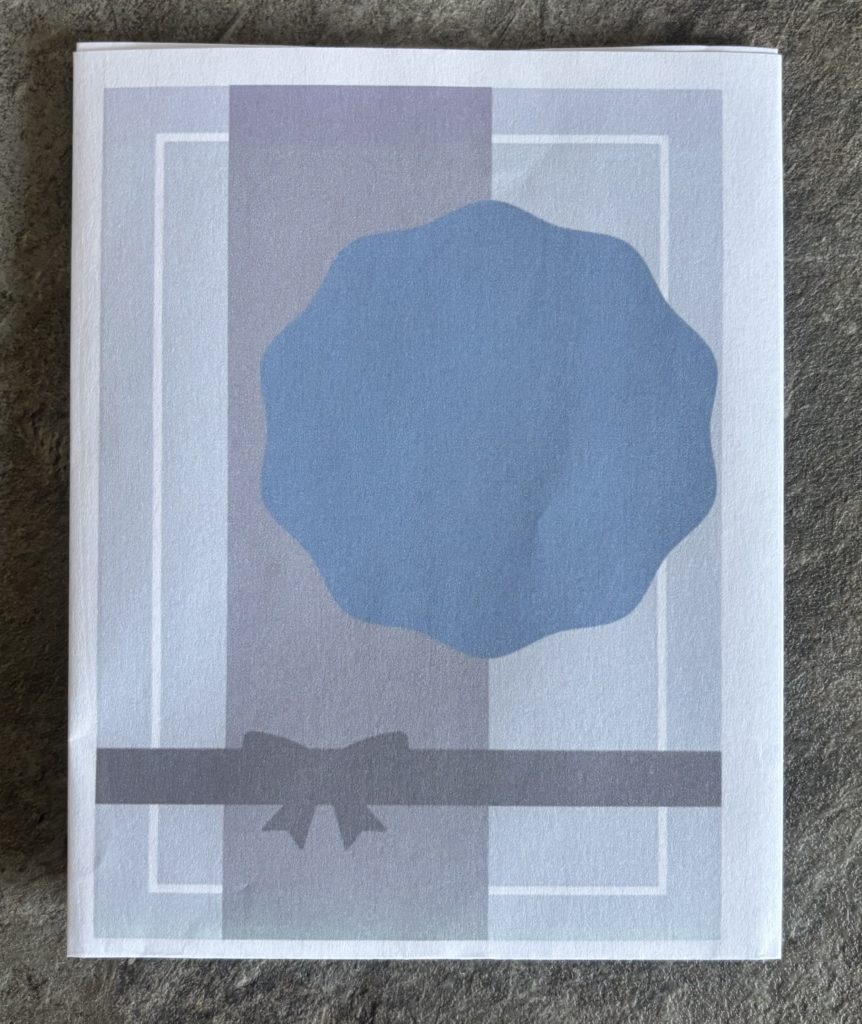
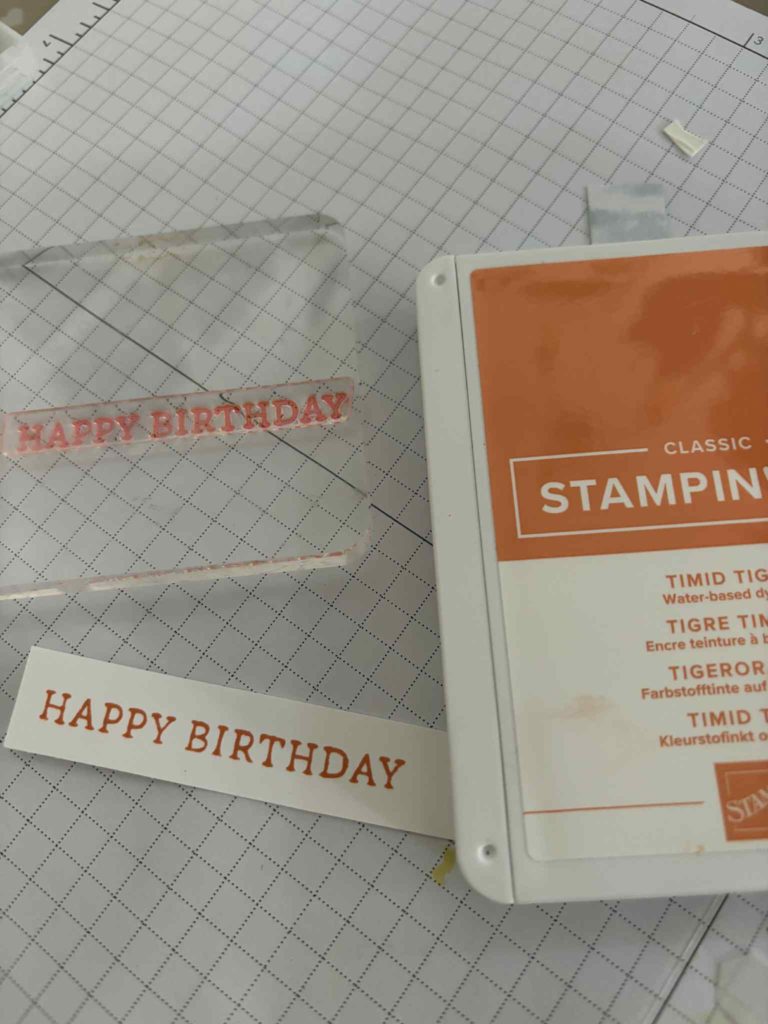
This month’s Blog Hop with my friends invited us to provide a card that used the same basic layout – called a sketch. A bit of creative license is allowed so I expect there will be a lot of variation. My small change was to add a greeting because I never seem to have enough birthday cards. The greeting came from my go to stamp set ….. Simply Said, I use it all the time.
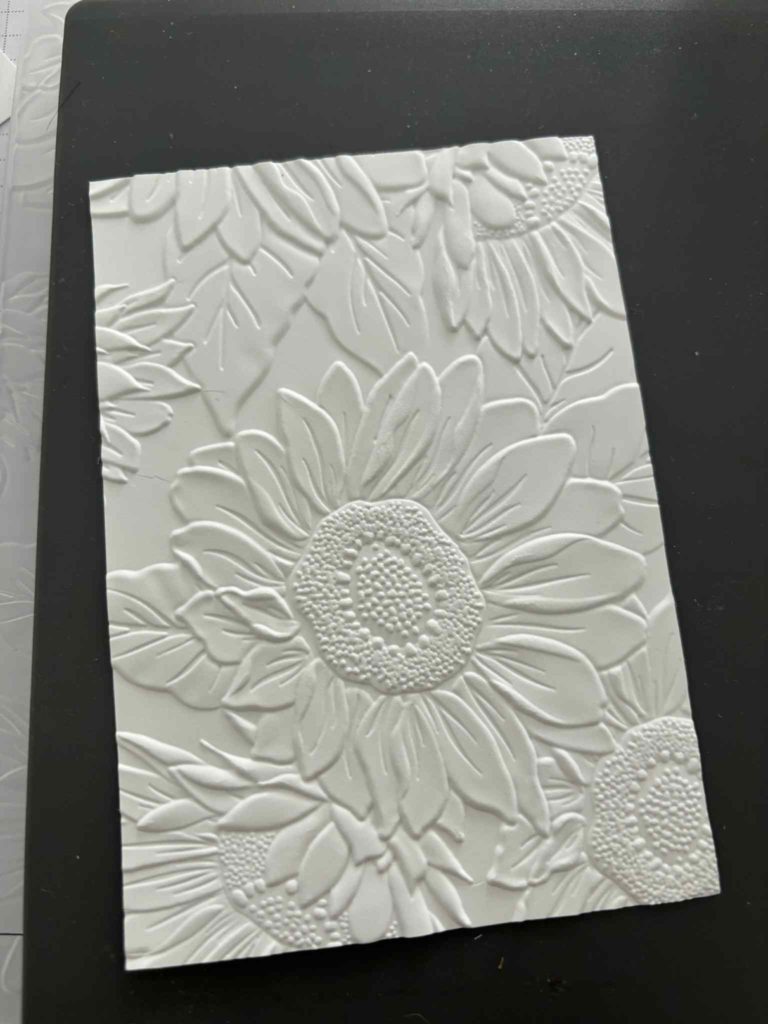
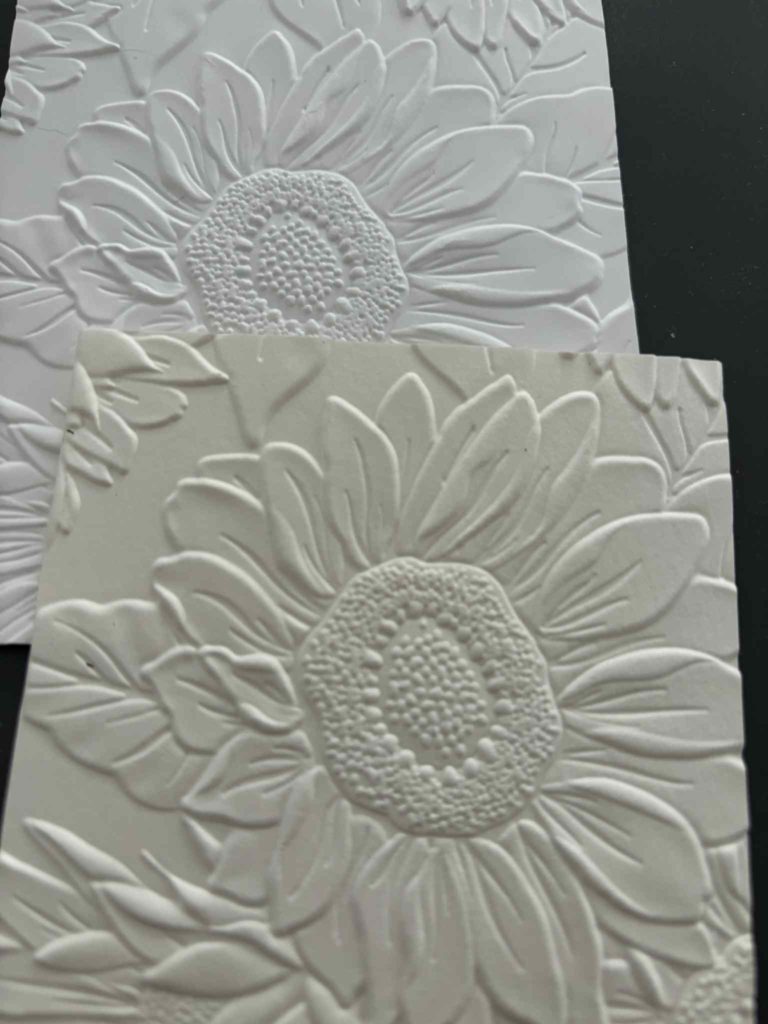
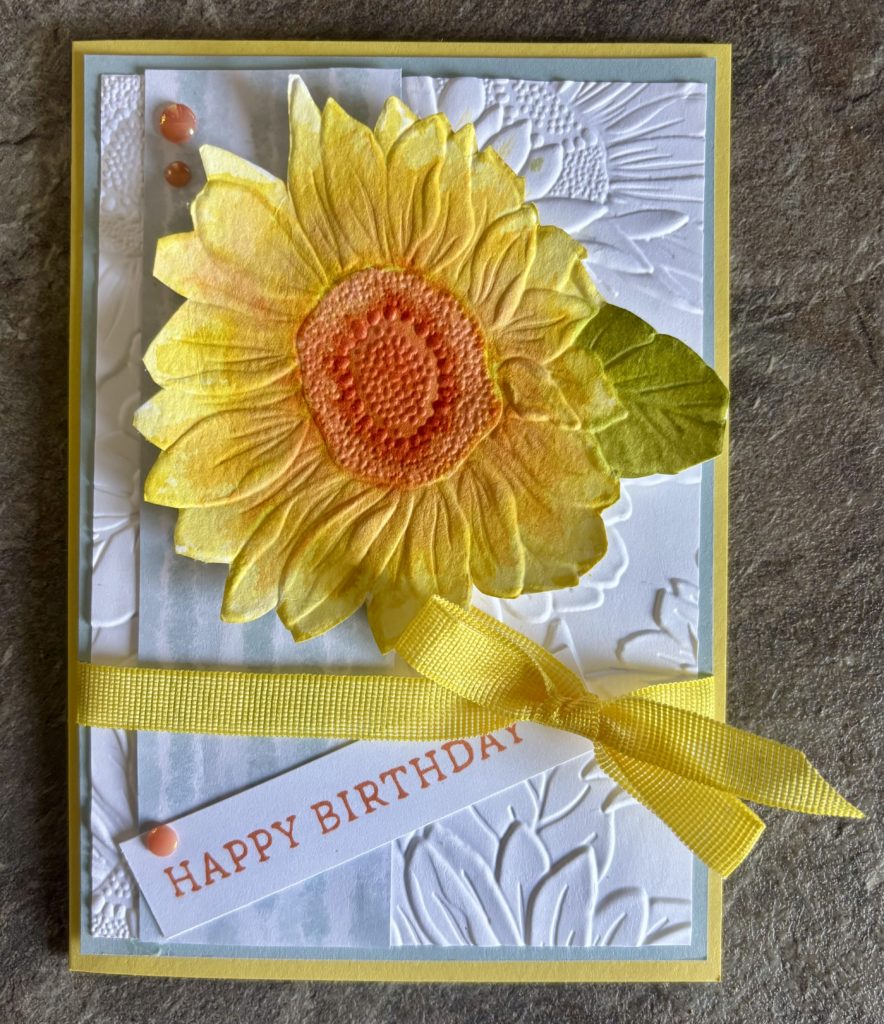
Another new favourite is the Sunflower Embossing Folder, one of the new Online Exclusives. It is amazing with the 2 Tone Cardstock.
Anyway, let’s go with my card.
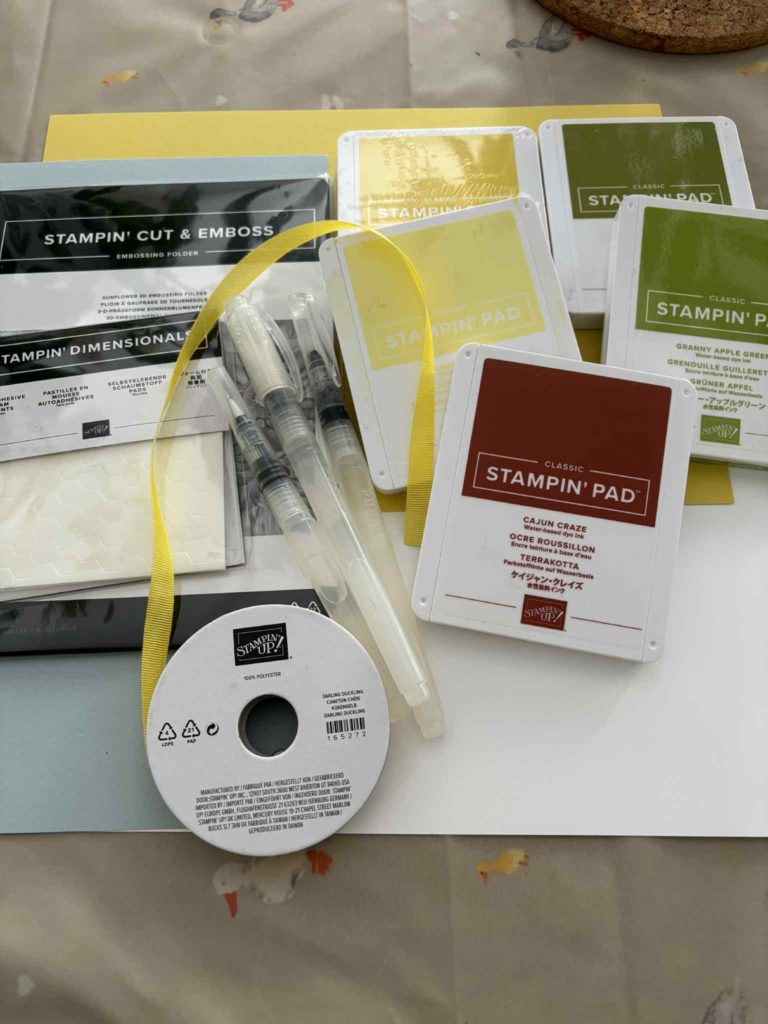
Collect everything you need.
Cut your Cardstock and paper
Card base- 14.8cm x 21cm scored 10.5cm
Mat layer – 14.3cm x 10 cm
Basic white layer 13.8cm x 9.5cm
Square watercolour paper 9.5 x 9.5cm
Basic white scrap for greeting.
DSP 13.8cm x 4cm
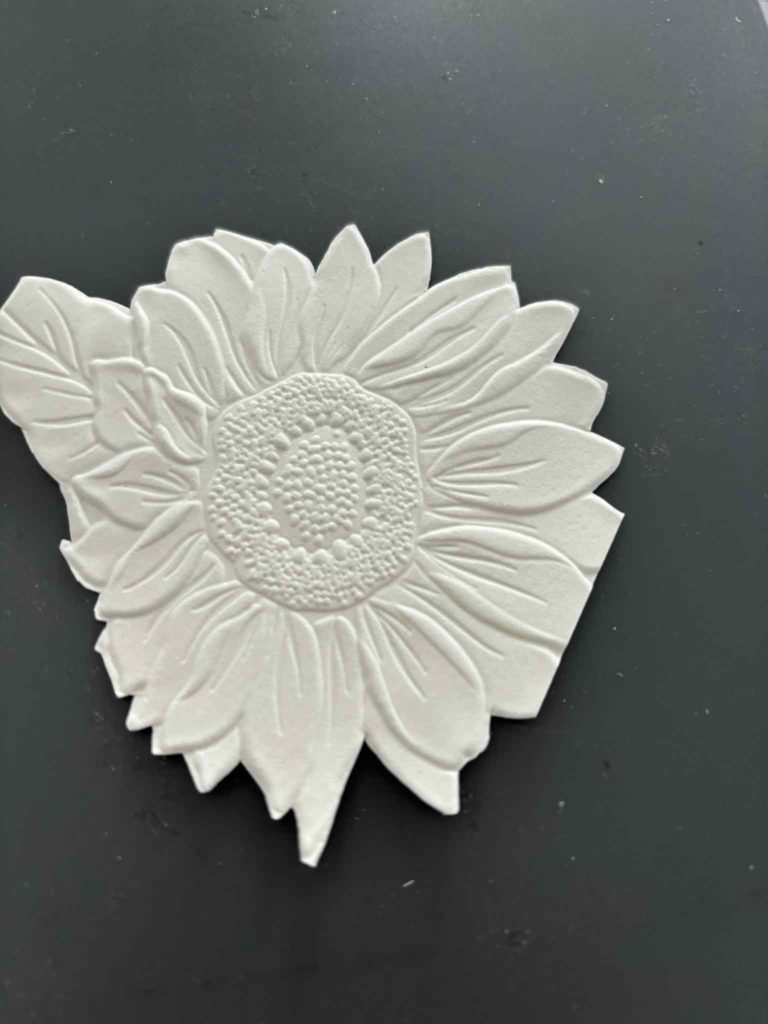
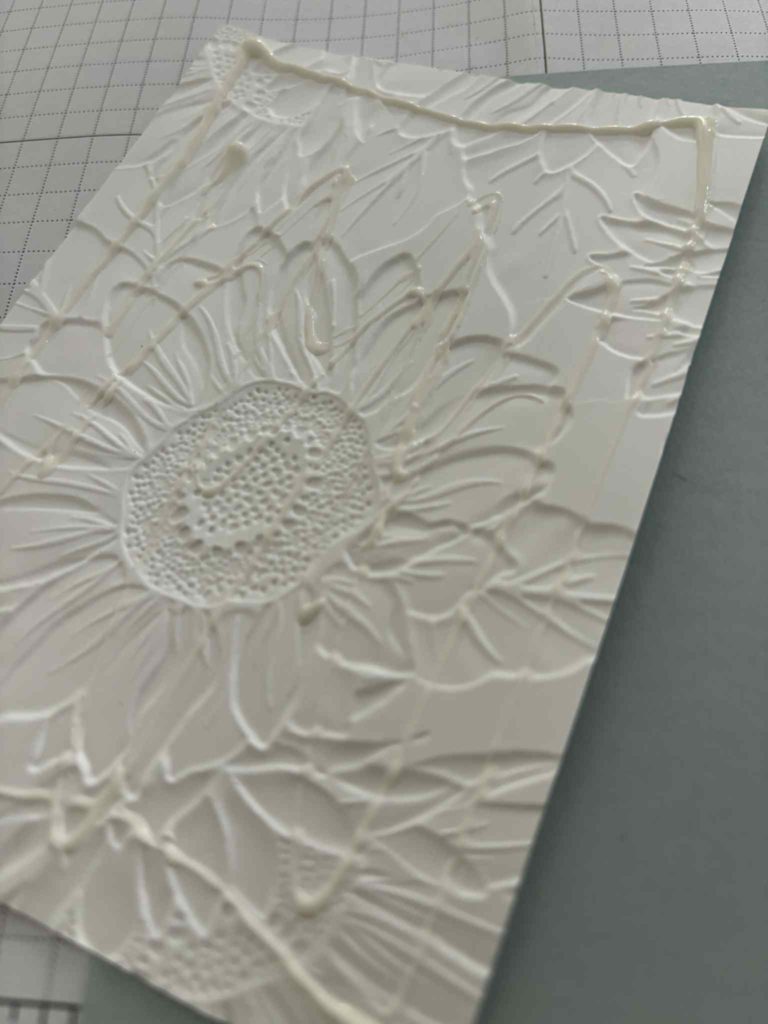
Follow instructions for Cut and Emboss machine and emboss the basis white card with the sunflower folder. Place paper carefully to give a whole flower image if possible. Repeat with the watercolour paper, select an area that will give you the best image to colour.

Carefully cut around the flower on the watercolour paper with your snips. (heads up here, we were told today that they are going out of manufacture – still plenty in stock just now).
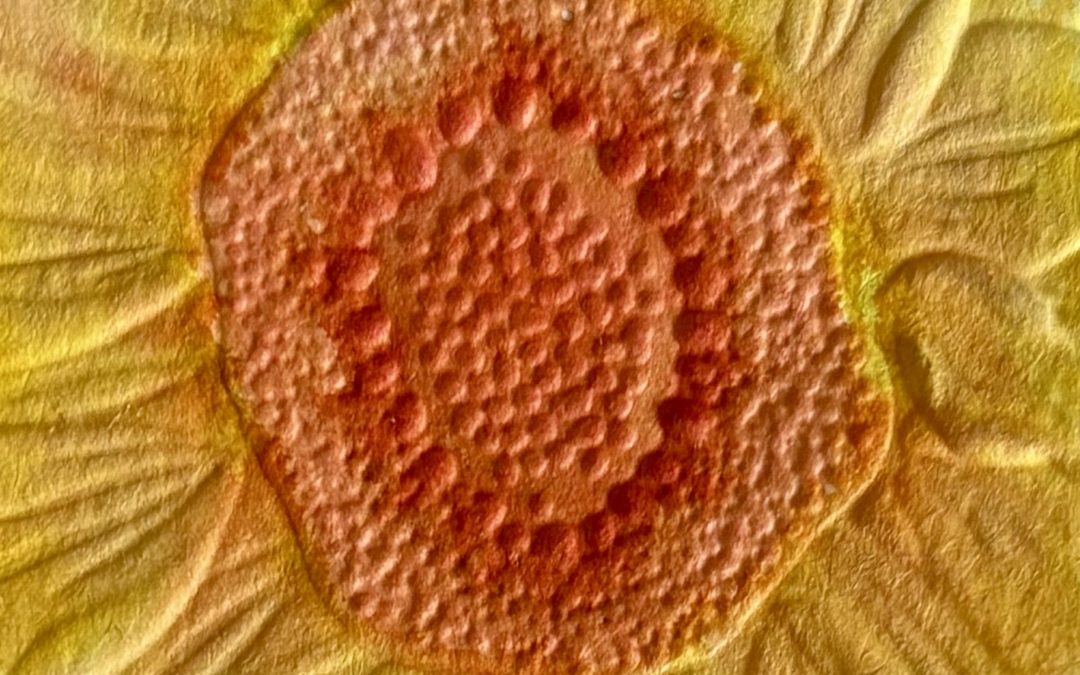
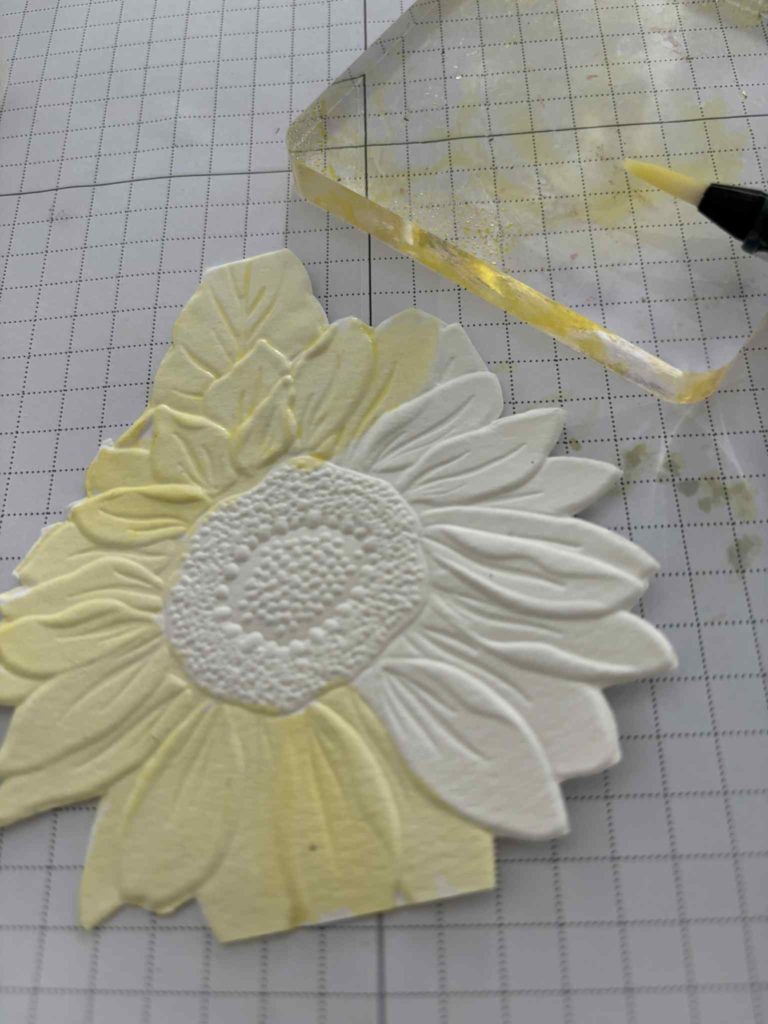
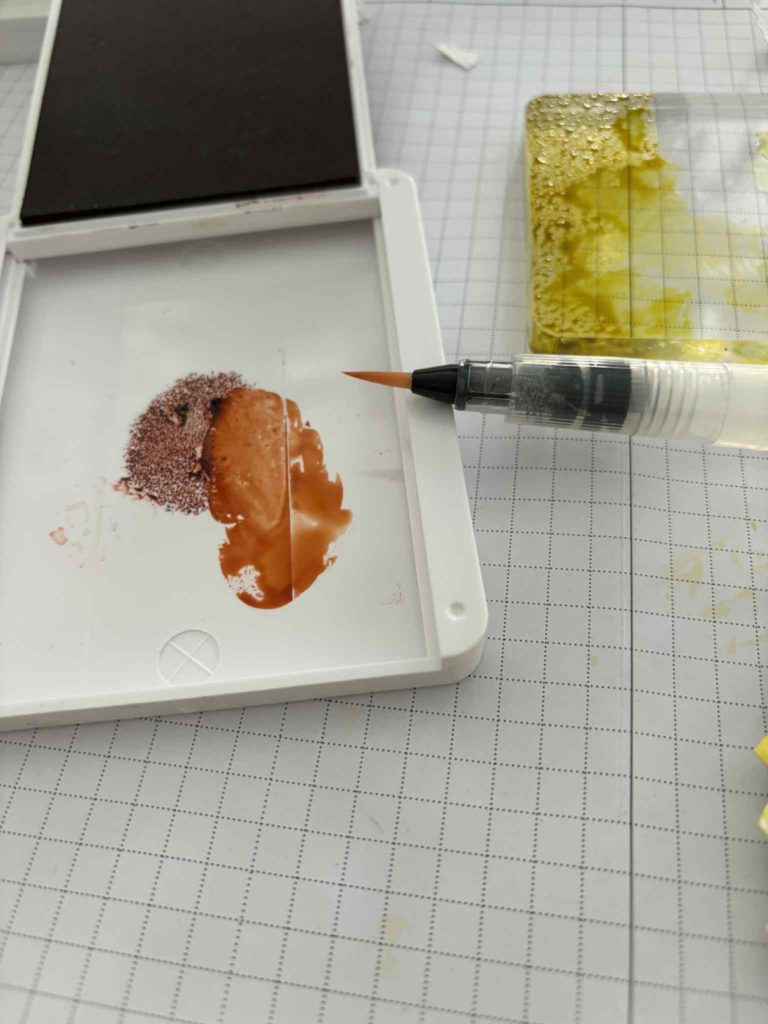
Use your lightest ink colour first. I use an acrylic block to pick up ink from the pad. It prevents damage to them. With a water brush mix the colour with water and cover the whole area that is going to be that colour. I used Lemon Lolly first. Move on to your darker colour – for me Darling Duckling and repeat the inking up process and add detail to your sunflower. I went further and used Timid Tiger to add depth.
I did the leaf and the centre using the same process. You could use a heat gun to dry it but I just left it to one side while I made up the rest of the card. You can use the ink pad lid as an alternative palette as shown.
Stick the embossed layer onto the mat layer. Use more multipurpose adhesive than you would if sticking 2 flat pieces of cards, it gets into the uneven surface of the back of the embossed piece. This is quite a deep folder.
Stick the strip of coordinating designer series paper on top.
Tie a piece of ribbon in a bow around the lower part of the card.
Stick the topper onto the card base. Add embellishments as shown. Use Stampin’ Dimensionals to stick the watercolour flower in place. Stamp your sentiment onto a scrap of basic white. Trim and add to card.
If you wish add a layer inside, 10cm x 14.3cm, you could add a small strip of the DSP that you used on the front.
The finished card, based on the original sketch, is shown below.
![Cloud Cover A4 Cardstock [ 165293 ]](https://assets1.tamsnetwork.com/images/EC042017NF/165293s.jpg "Cloud Cover A4 Cardstock [ 165293 ]")
![Basic White A4 Cardstock [ 166781 ]](https://assets1.tamsnetwork.com/images/EC042017NF/166781s.jpg "Basic White A4 Cardstock [ 166781 ]")
![Sunflower 3 D Embossing Folder [ 166145 ]](https://assets1.tamsnetwork.com/images/EC042017NF/166145s.jpg "Sunflower 3 D Embossing Folder [ 166145 ]")
![2025–2027 In Color™ 6" X 6" (15.2 X 15.2 Cm) Designer Series Paper [ 165300 ]](https://assets1.tamsnetwork.com/images/EC042017NF/165300s.jpg "2025–2027 In Color™ 6\" X 6\" (15.2 X 15.2 Cm) Designer Series Paper [ 165300 ]")
![Darling Duckling Classic Stampin' Pad [ 165277 ]](https://assets1.tamsnetwork.com/images/EC042017NF/165277s.jpg "Darling Duckling Classic Stampin' Pad [ 165277 ]")
![Timid Tiger Classic Stampin' Pad [ 165278 ]](https://assets1.tamsnetwork.com/images/EC042017NF/165278s.jpg "Timid Tiger Classic Stampin' Pad [ 165278 ]")
![Simply Said Mix & Match Photopolymer Stamp Set (English) [ 163756 ]](https://assets1.tamsnetwork.com/images/EC042017NF/163756s.jpg "Simply Said Mix & Match Photopolymer Stamp Set (English) [ 163756 ]")
![2025–2027 In Color™ Flat Pearls [ 165192 ]](https://assets1.tamsnetwork.com/images/EC042017NF/165192s.jpg "2025–2027 In Color™ Flat Pearls [ 165192 ]")
![Multipurpose Liquid Glue [ 154974 ]](https://assets1.tamsnetwork.com/images/EC042017NF/154974s.jpg "Multipurpose Liquid Glue [ 154974 ]")
![Darling Duckling 3/8" (1 Cm) Faux Linen Ribbon [ 165272 ]](https://assets1.tamsnetwork.com/images/EC042017NF/165272s.jpg "Darling Duckling 3/8\" (1 Cm) Faux Linen Ribbon [ 165272 ]")


Love your sunflower and great explanation!
I love sunflowers and your watercoloured one is gorgeous
Lovely technique, lovely card.