Well it’s that time again! I have just made a cute Christmas card – my first of the season. I was all ready to tell you how to make it when Neil (the brains of Beenbusycrafting 😊) reminded me that the subject was “Embossing”. Christmas is next week for my Tutorial bundle- you get that free if you place an order with me. There are 9 or 10 of us that contribute so you get a wide range of ideas. You can also buy previous tutorial bundles. Click here for more info.
Back to embossing- one of my favourite techniques. At this point I thought it worth explaining embossing in a bit more detail.
There are two different types of embossing and I will be using both today. Each has its own merits but when used together it creates a truly unique end result
Embossing Folders
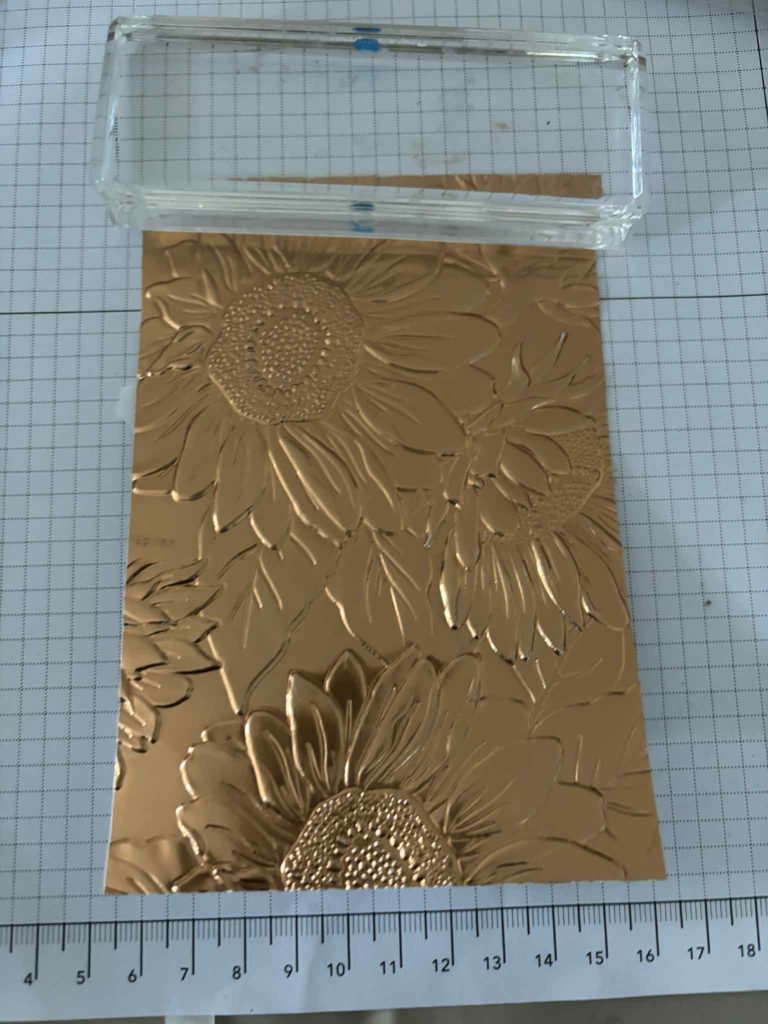
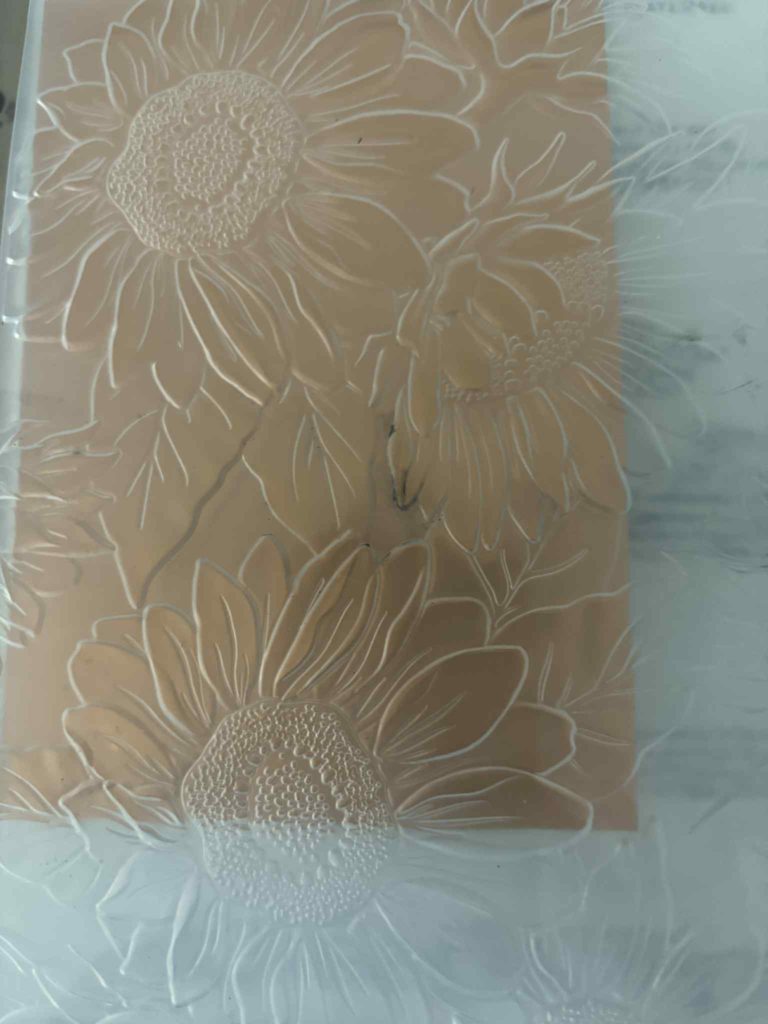
Embossing folders are plastic templates with a raised design that you run through a die-cutting or embossing machine with your cardstock. The pressure pushes the paper into the design, leaving a textured, raised pattern. This gives beautiful depth and dimension without using any ink or extra product. You can keep the look subtle with plain cardstock, or highlight the design further by adding ink, paint, or gilding over the raised areas.
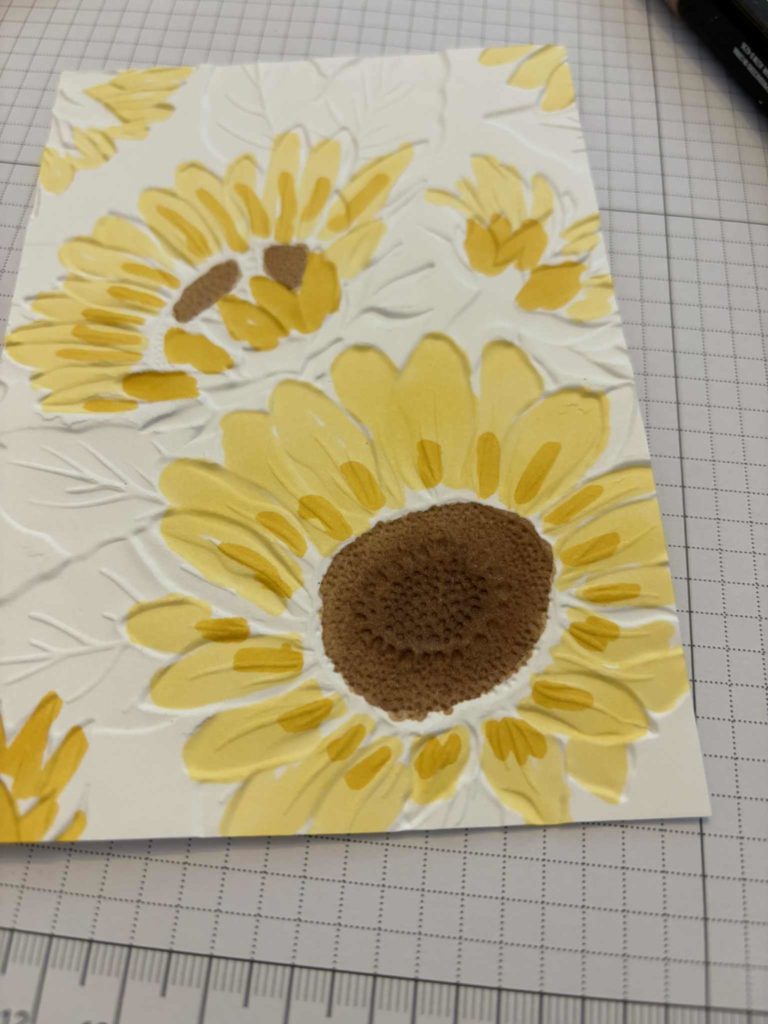
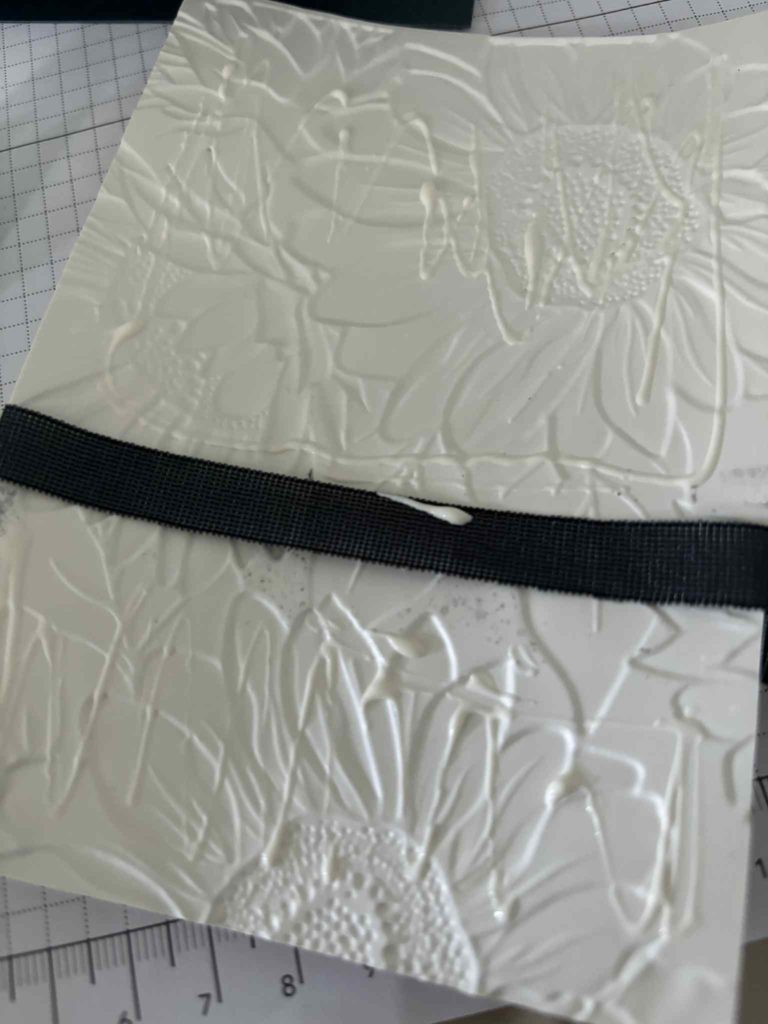
It also leaves a debossed image on the other side that offers different opportunities- remember last time I used the Sunflower folder and coloured the debossed areas with blends? Pictures below as a comparison.
Heat Embossing
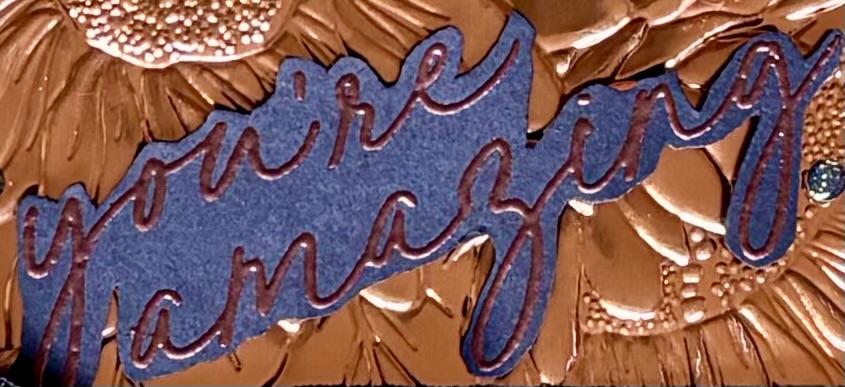
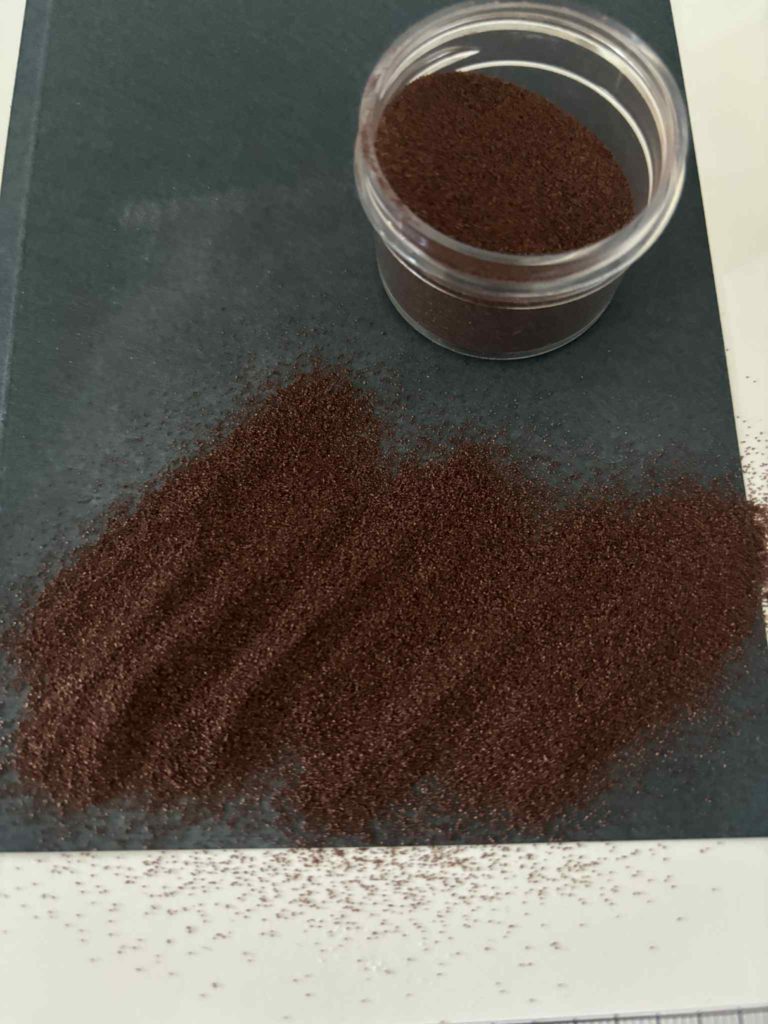
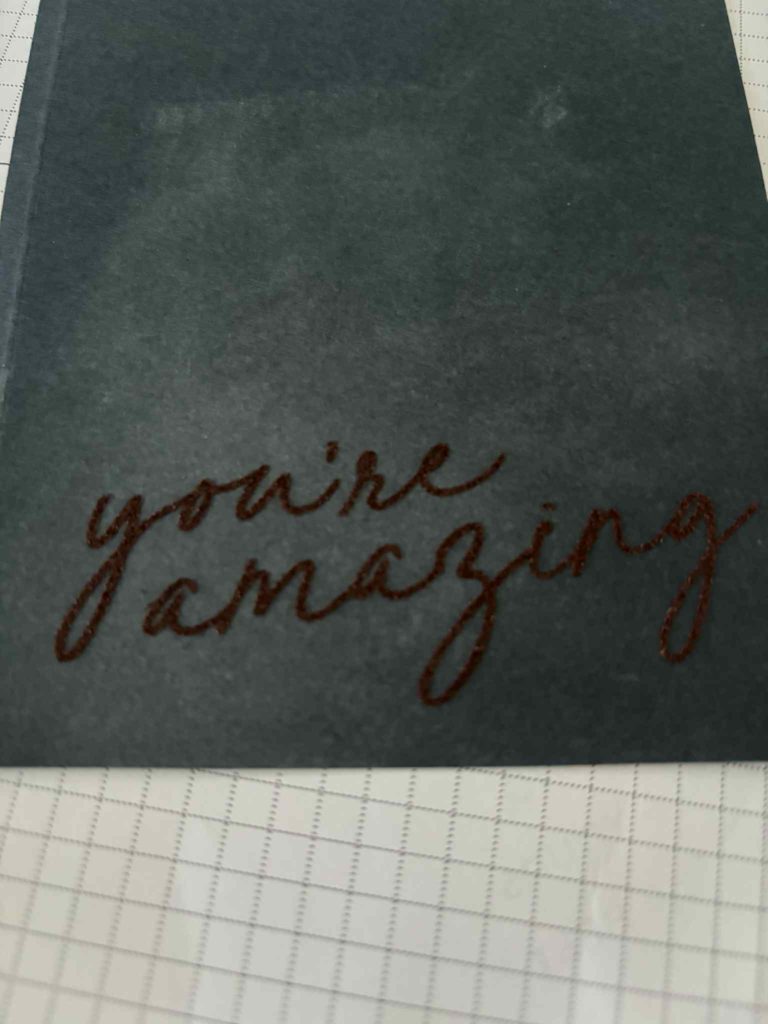
Heat embossing uses embossing powder and a heat tool to create a glossy, raised finish on stamped images or lettering. First, you stamp your design using a sticky embossing ink, sprinkle embossing powder over the top, and tap away the excess. Then, when you apply heat, the powder melts and forms a smooth, shiny, and slightly raised effect. It’s a versatile technique that can add elegance, shine, or even metallic finishes to your projects. I particularly like to use it with clear embossing powder to give defined edges to areas of colouring with Stampin’ Blends.
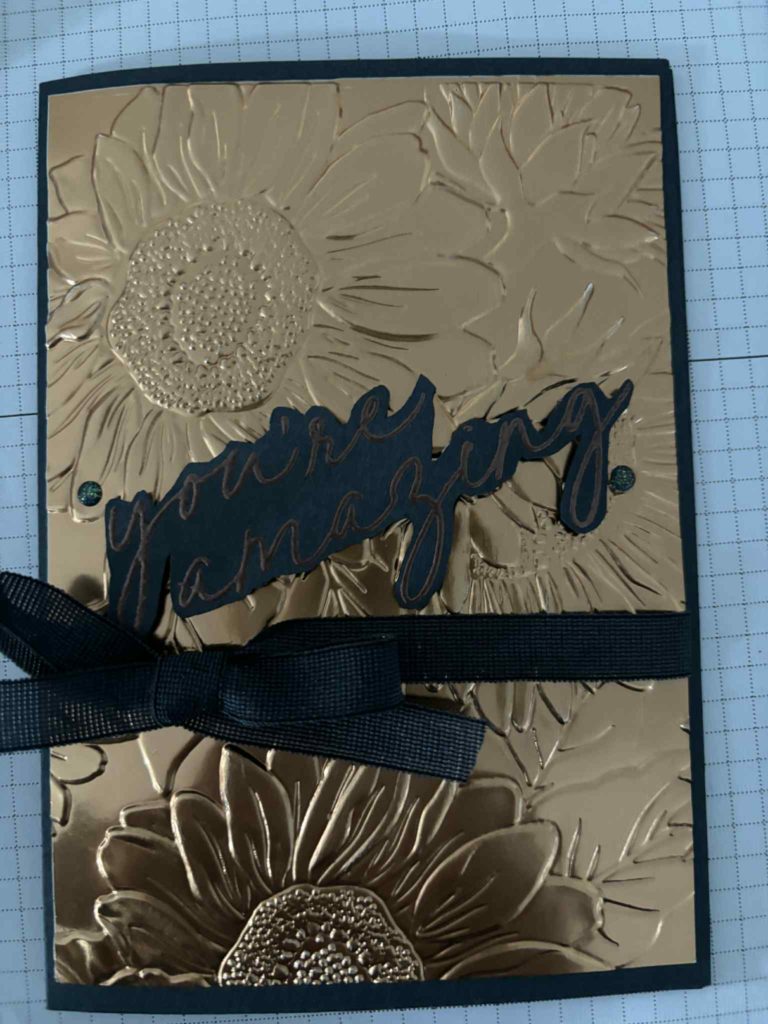
ISo back to the card project. I have been wanting to try out the Sunflower Embossing Folder with the new Earthen Toned metallic speciality DSP from the new mini catalogue. I am happy with the result.
To make the card collect everything you need.

- Secret Sea card stock card base 14.8cm x 21cm
- Secret Sea card stock card scrap for stamping
- Secret Sea card ribbon
- Metallic DSP card stock mat layer 14.3cm x 10cm
- Basic White card stock mat layer 14.3cm x 10cm
- Embossing powder, embossing buddy from the Embossing kit
- Copper embossing powder
- Heat tool
- Sunflower embossing folder
- Stampin’ cut & embossing machine
- Paper trimmer
- Acrylic blocks
- Paper snips (I still have a couple of pairs in stock)
- Versamark ink pad
- Stamp set Scenic Adventure
- Stampin’ Dimensionals
1. Score card base at 10.5 cm.
2. Put metallic paper into sunflower embossing folder and run through cut & emboss machine.
3. Apply 3 glue dots to back of embossed piece, 6cm from bottom edge. Run Secret Sea ribbon around the back and form a bow to one side on front. Apply adhesive to the back and stick on to the front of the card base.
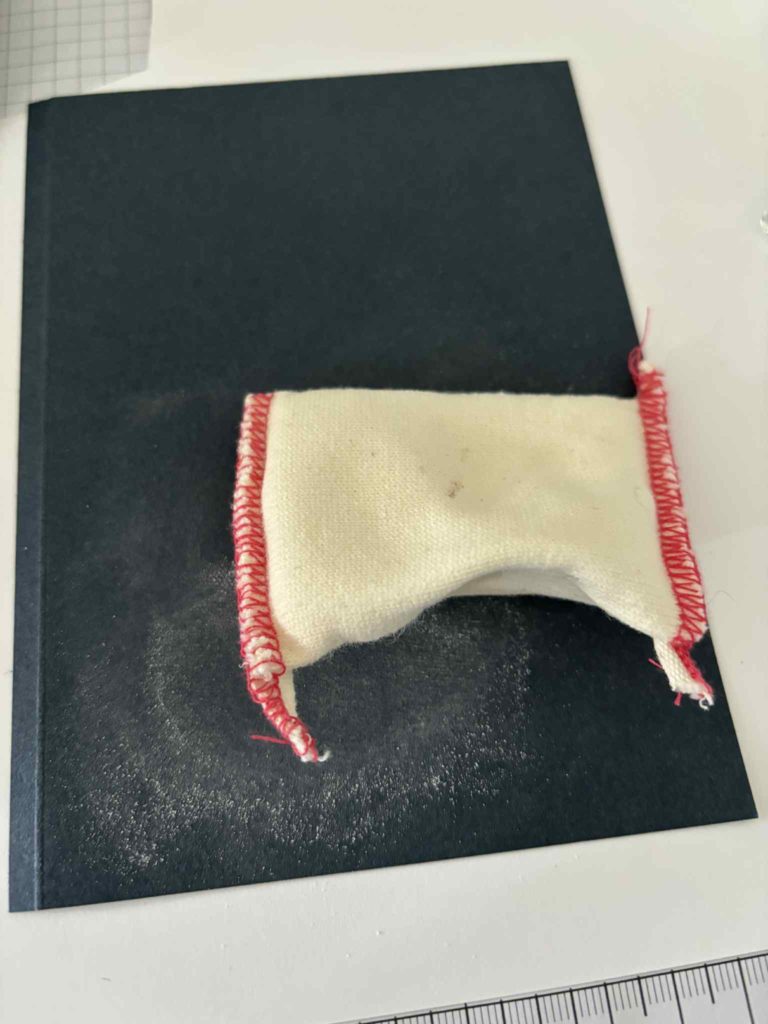
4. Working on a piece of file paper, dust the surface of the Secret Sea scrap for stamping with the embossing buddy. This reduces static in the card and helps to stop the embossing powder stick anywhere except where you want it to.
5. Mount the sentiment stamp onto your acrylic block and apply the Versamark ink. Stamp onto the prepared Cardstock. Put the lid on the ink to avoid getting the powder in it.


6. Apply the embossing powder over the Versamark and tap gently to make sure that the powder covers the ink. If you are using the embossing kit, tip the excess powder off into the tray. If not, carefully tip the powder onto the piece of paper and tip it back into the container.
7. Plug in the heat tool, turn it on and allow it to get hot. Gentle move the hot air over the embossing powder. If the paper starts to warp, heat from underneath. Keep alternating until you can see that the powder has become shiny. Leave it to cool.
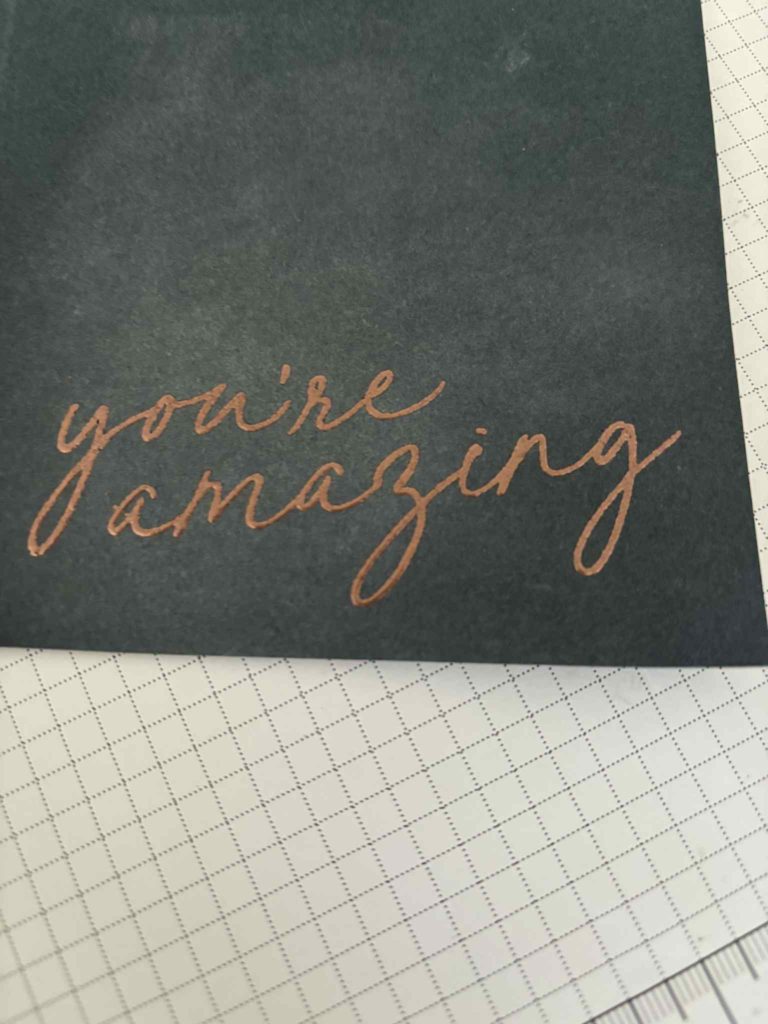
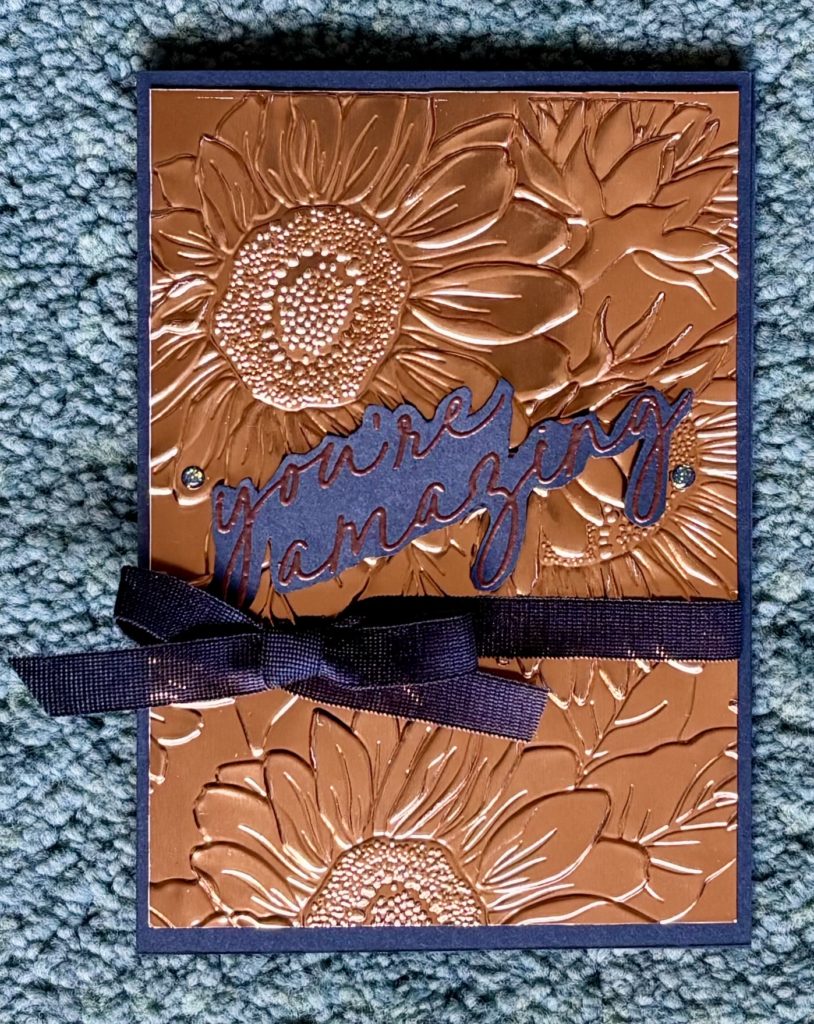
8. Carefully cut around the stamped image and attach it to the card with Stampin’ Dimensionals (the actual colour of the paper changes depending on the light).
9. Stamp a greeting on the white layer and attach to the inside.
10. The final result is shown below.
![Secret Sea A4 Cardstock [ 165296 ]](https://assets1.tamsnetwork.com/images/EC042017NF/165296s.jpg "Secret Sea A4 Cardstock [ 165296 ]")
![Secret Sea 3/8" (1 Cm) Faux Linen Ribbon [ 165273 ]](https://assets1.tamsnetwork.com/images/EC042017NF/165273s.jpg "Secret Sea 3/8\" (1 Cm) Faux Linen Ribbon [ 165273 ]")
![Earthen Toned Metallic 12" X 12" (30.5 X 30.5 Cm) Specialty Paper [ 165901 ]](https://assets1.tamsnetwork.com/images/EC042017NF/165901s.jpg "Earthen Toned Metallic 12\" X 12\" (30.5 X 30.5 Cm) Specialty Paper [ 165901 ]")
![Basic White A4 Cardstock [ 166781 ]](https://assets1.tamsnetwork.com/images/EC042017NF/166781s.jpg "Basic White A4 Cardstock [ 166781 ]")
![Embossing Additions Tool Kit [ 159971 ]](https://assets1.tamsnetwork.com/images/EC042017NF/159971s.jpg "Embossing Additions Tool Kit [ 159971 ]")
![Metallics Embossing Powders [ 155555 ]](https://assets1.tamsnetwork.com/images/EC042017NF/155555s.jpg "Metallics Embossing Powders [ 155555 ]")
![Sunflower 3 D Embossing Folder [ 166145 ]](https://assets1.tamsnetwork.com/images/EC042017NF/166145s.jpg "Sunflower 3 D Embossing Folder [ 166145 ]")
![Stampin' Cut & Emboss Machine [ 149653 ]](https://assets1.tamsnetwork.com/images/EC042017NF/149653s.jpg "Stampin' Cut & Emboss Machine [ 149653 ]")
![Scenic Adventure Photopolymer Stamp Set (English) [ 165466 ]](https://assets1.tamsnetwork.com/images/EC042017NF/165466s.jpg "Scenic Adventure Photopolymer Stamp Set (English) [ 165466 ]")
Ink Tools & Adhesive Ribbon & Trim Accessory