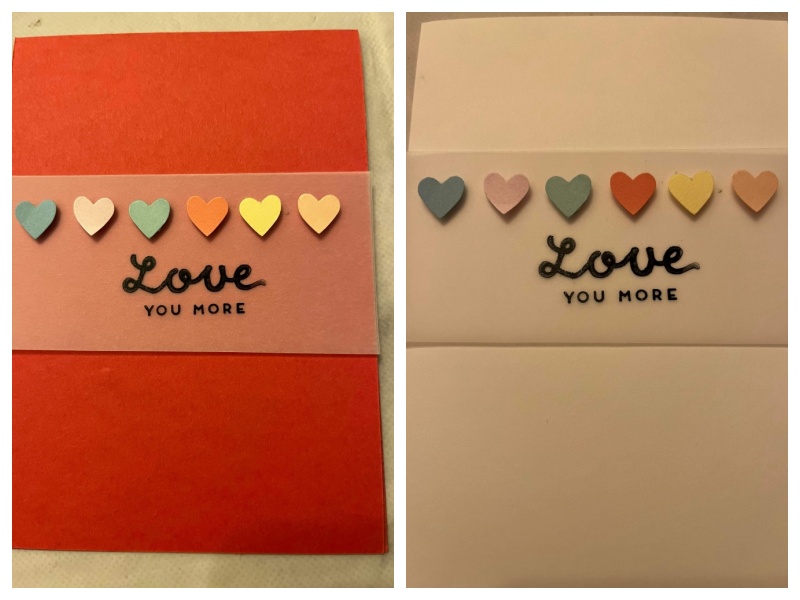
Vellum is a really useful product to have when you are card making and crafting. Stampin’ Up! has colour coordination at it’s core but vellum coordinates with everything.
The first example shows using vellum as a layer to add interest to a card. You could just add die cuts directly on to the backing paper but do you see what a difference the vellum makes?
Top tip.
Adhesive will show through the vellum so work out where the die cuts are going and put adhesive where they will cover it.

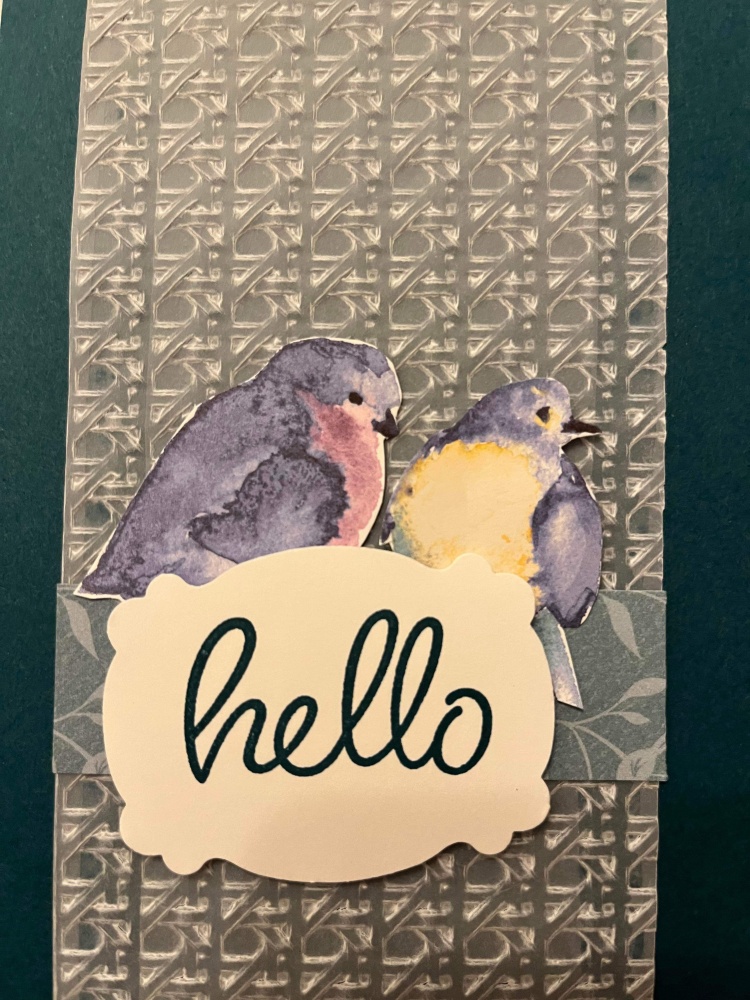
The second example below shows using vellum that has been through an embossing folder. Standard embossing folders are easy to work with but the deeper 3D ones can make too deep an impression. It can cause the vellum to split.
Top tip.
If using a 3D embossing folder put a piece of printer paper on top of the ‘sandwich’ as you pass it through the Stampin’ Up! Cut and Emboss machine.

The third example below shows heat embossing on to vellum. It’s slightly tricky because it’s difficult to see the stamped impression of the Versamark ink on the vellum. Versamark is a sticky but clear ‘ink’. Stamp your chosen design on to the vellum, then cover it with embossing powder. Tip off any excess powder and return to its container. Seal and put the container away from the heating area. Tweezers are useful to hold the vellum as you heat it. Allow your heat embossing tool to preheat before gradually working your way across the powdered area. If the vellum starts to warp, try heating from below. Check that all powder has gone shiny.
Top tip.
Always use an anti-static pad on your embossing piece before you start. It will help to prevent stray dust being stuck where you don’t want it.

Finally, you can stamp on to vellum and also colour in when it has dried. Vellum doesn’t absorb moisture so the stamped image has to dry by evaporation. This means that an alcohol based ink is needed. Even with an alcoholic ink, drying takes time. You can speed it up by using you heating tool.
If you want to colour the image I think it’s best to heat emboss the stamped image. You can then use Stampin’ Write Markers on the front, remember to colour light colours first and allow each colour to dry before starting the next one.
Top tip.
If you are using Stazon ink be sure to clean stamps straight away. There is a Stazon cleaner for red rubber stamps. However, it will damage photopolymer (clear) stamps.


Great tips for vellum, tfs, Angela
Great tips there.
Great ideas for using vellum. I can’t see all the examples, but your descriptions are clear.
Hi Carol,
Thanks for your comments. We are updating the blog post to add further pictures and format them better.
I love tips on how to create your cards!
Thank you for sharing your tips on how to use vellum.