
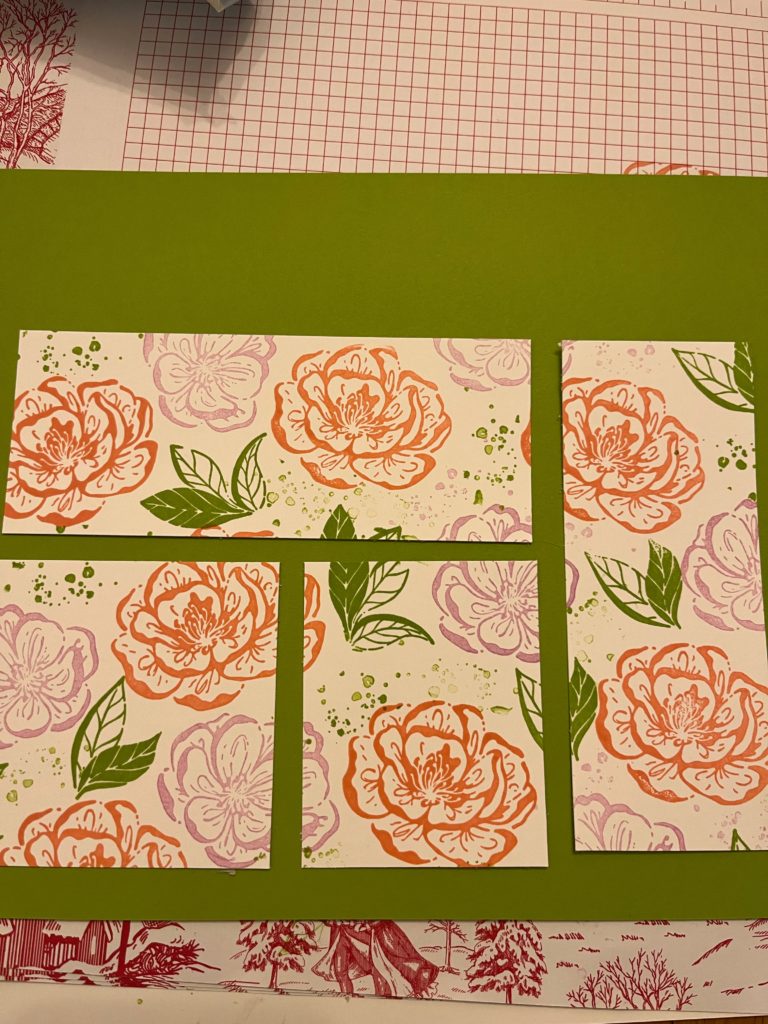
This project makes 4 cards using an A5 sheet of either Designer Series Paper or stamped white card.
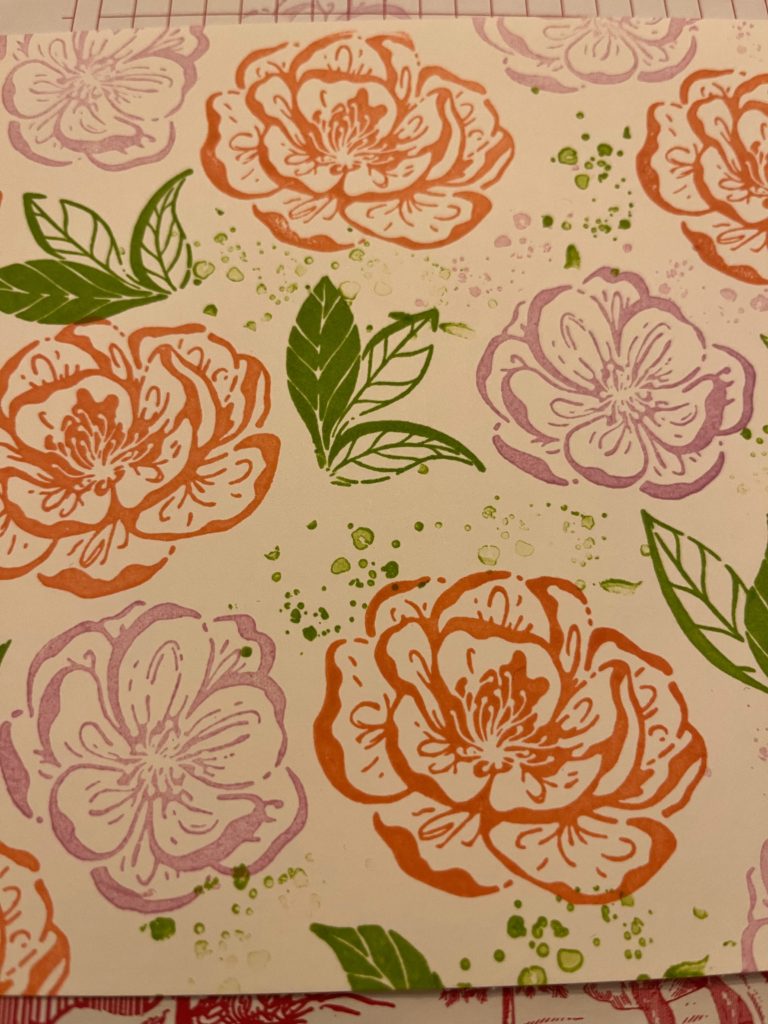
1. Choose your colours. I choose Granny Apple Green, Fresh Freesia and Flirty Flamingo.
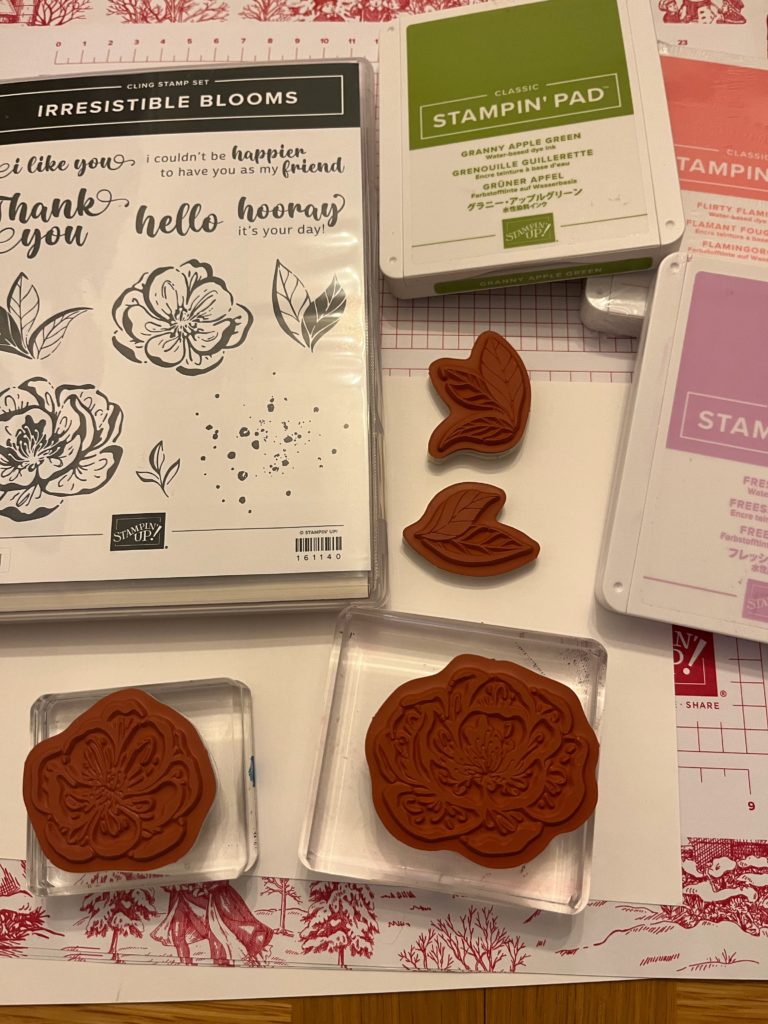
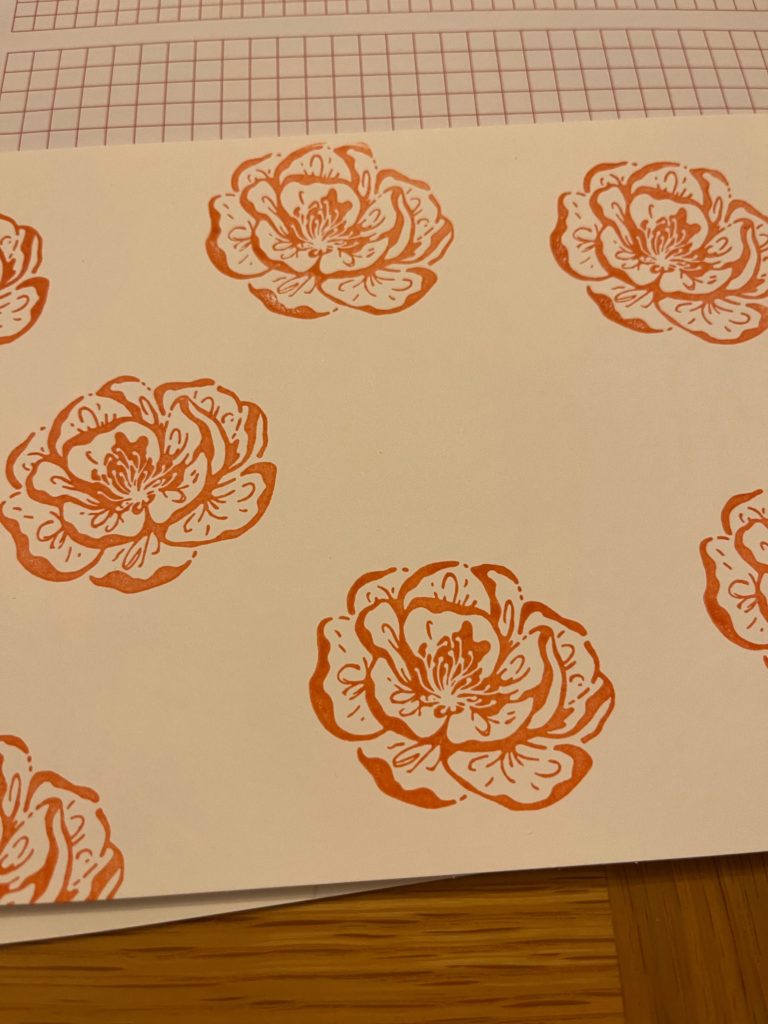
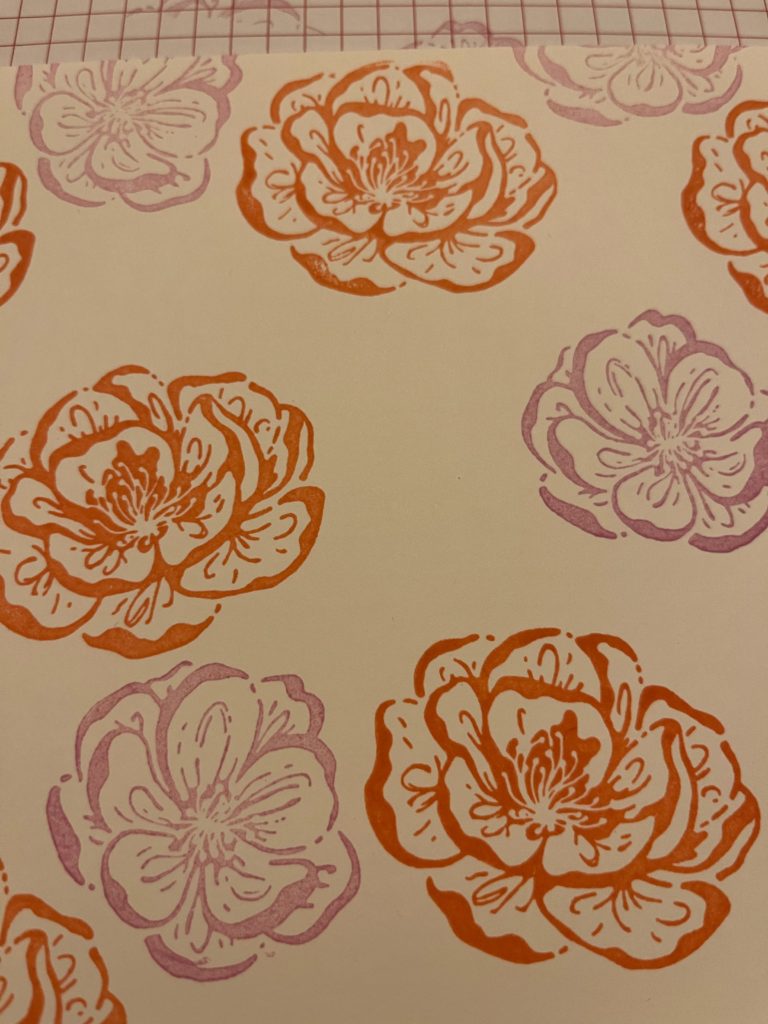
2. Using 2 sizes of flower stamps from the Irresistible Blooms stamp set, stamp the white card. Add leaves to fill suitable gaps. I used a few of the splodges too.
3. Cut the paper into the 4 pieces using your Paper Trimmer. Cut coordinating card to mat.
Make a cut from top to bottom at 5.5cm. Trim to 14cm (Card C) mat 6 x 14cm
Make a cut left to right at 6cm. Trim to 14.9 (Card B) mat 6.5 x 14.9cm
Make cut top to bottom at 8cm. Trim to 8×8 cm square (Card A)mat 8.5 x 8.5cm
Remaining piece 6.5x 8cm (Card D)mat 7x 8.5 cm. DSP 7x 8.5cm
4. Mount your floral pieces using your choice of adhesive.
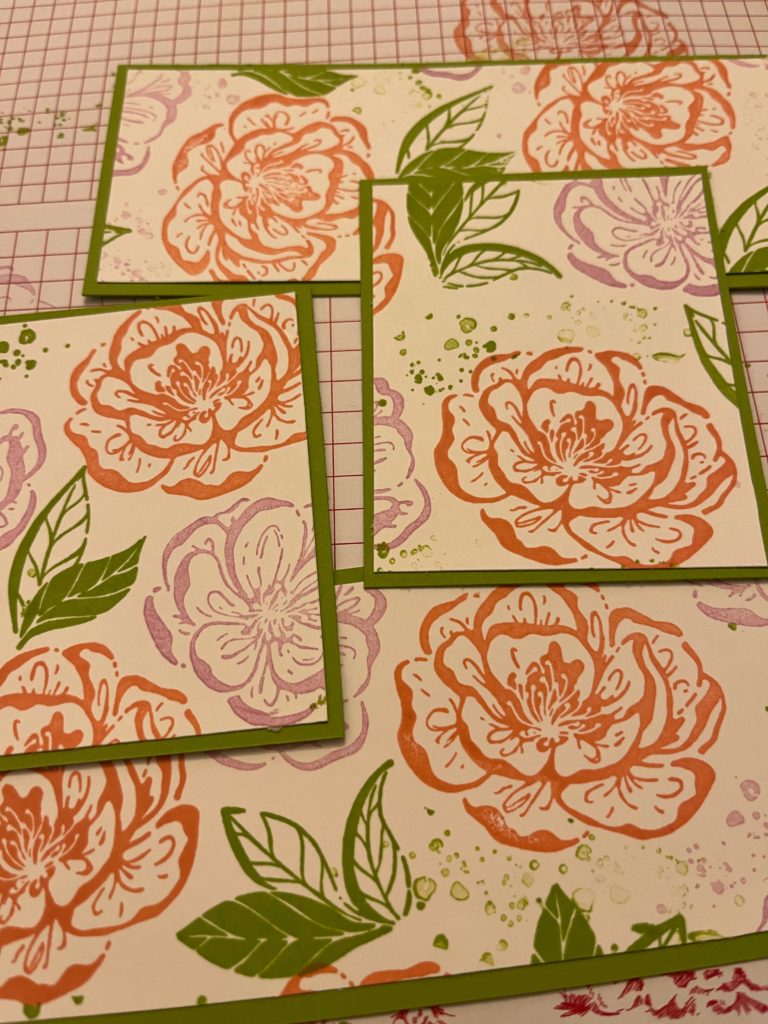
5. Prepare 4 Thick White card bases.
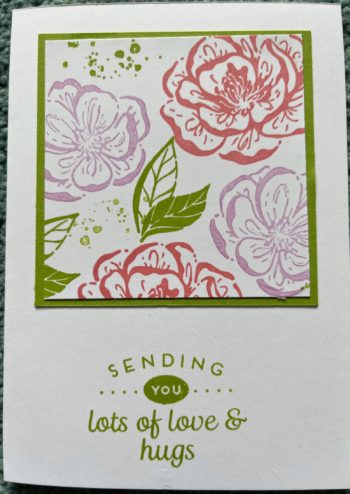
Card A.
Use the Square 8.5x 8.5cm piece and stick to top of card. Add a greeting below.
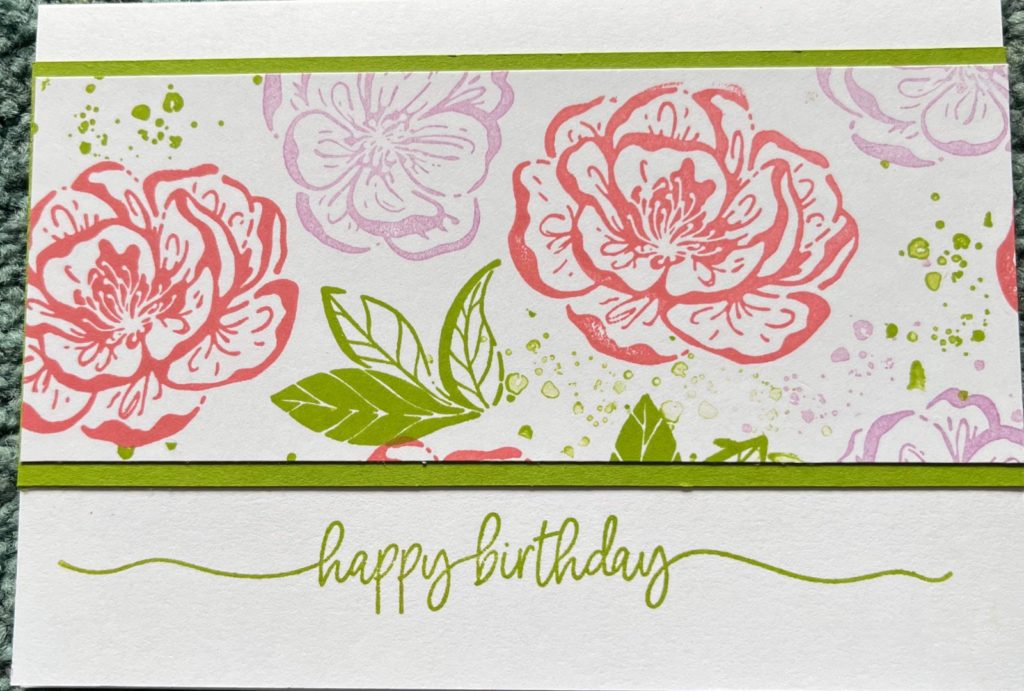
Card B
Use the horizontal strip 6.5 x 14.9cm and adhere to card base. Add a sentiment below.
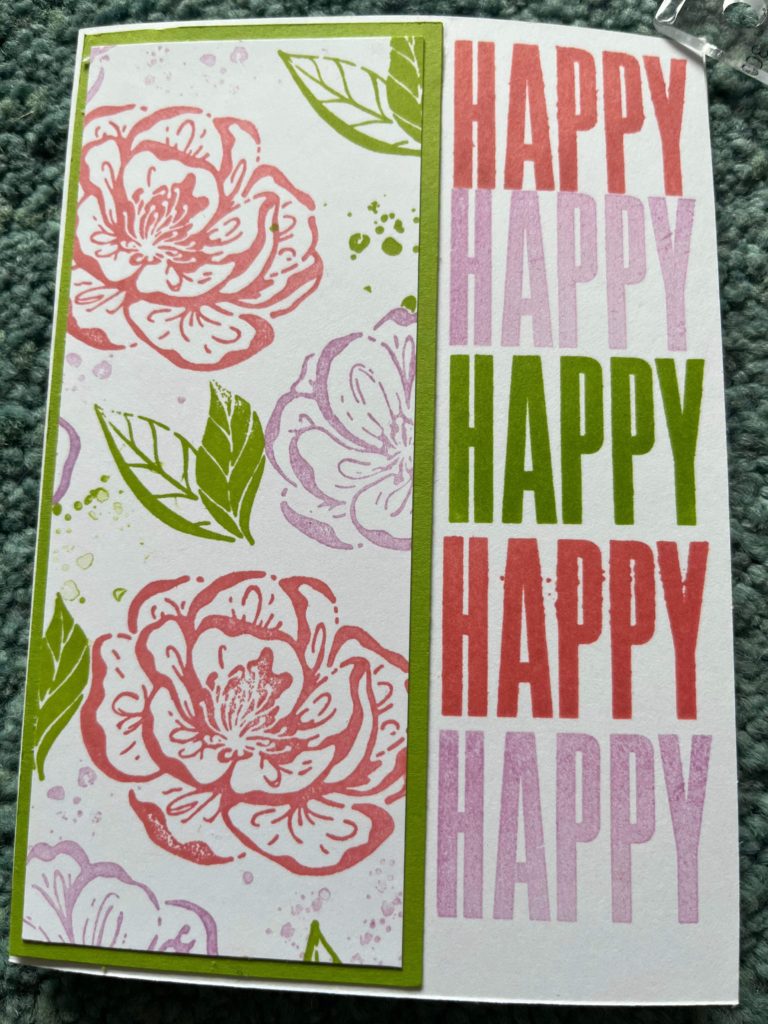
Card C
Use the vertical strip 6 x 14cm adhere to left hand side of card base. If you have a suitable stamp, add the greeting on right hand side, if not choose a contrasting strip of background style DSP and stick that into the white space
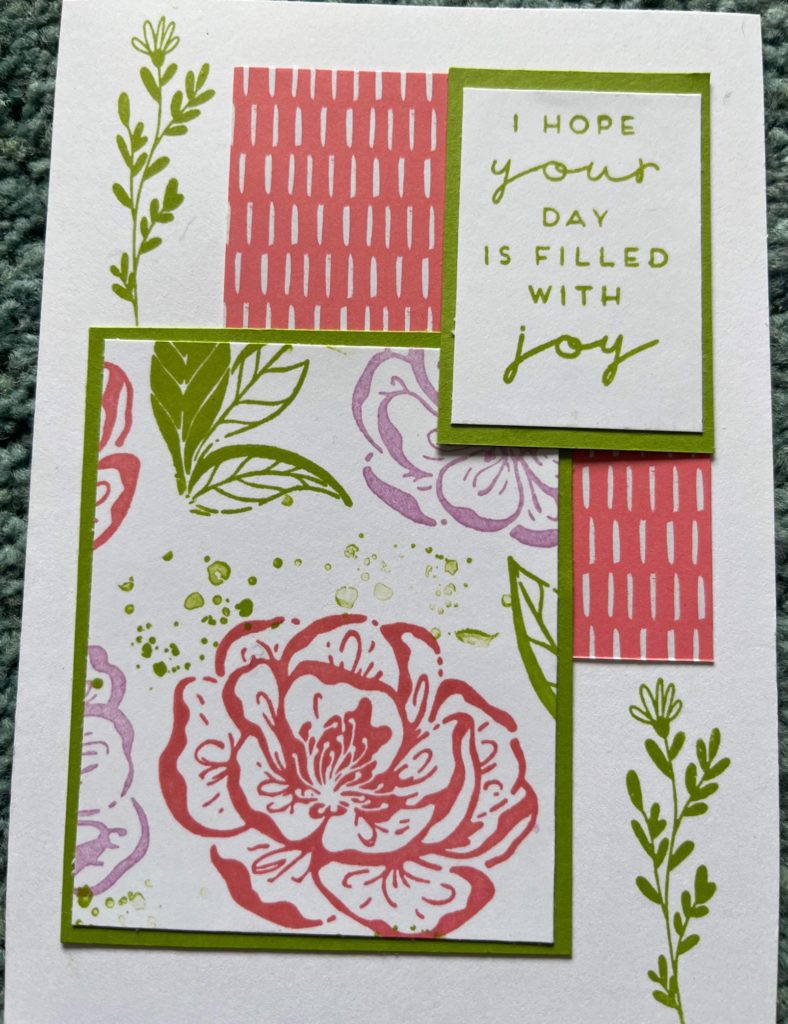
Card D
Cut a piece of coordinating DSP to the same size as the Matt – 7 x 8.5cm on the last piece of floral card. Use the photo as a guide, place onto the card on top right hand side. Add your mounted floral piece. Stamp a greeting onto white card and mount onto your coordinating card.


Lovely cards Angela, I like the one sheet wonder idea.
Love the one sheet wonder technique. Tfs.
Love it chop this great way to make quick cards.
Lovely cards! A one sheet wonder is a fabulous way to create a set of coordinating cards x